The Process
Evaluation & skip welding
Before any team started its own build, the whole class worked on existing aluminum boats, a low-stakes way to learn how the metal behaves under the torch.
-
Evaluate and repair existing boats
This came early in the term, before teams were assigned, so the whole class worked on these boats together. Each boat was inspected first, with welds and seams checked and defects such as cracks, porosity, and undercut flagged. Smaller flaws were repaired with skip welds; where the metal was too far gone, the bad sections were cut out, patches fabricated, and welded back in the same way, keeping heat down to avoid warping. Every repair was re-checked before moving on.

Boat inspection 
TIG welding patch Why it matteredThis was one of the most valuable parts of the class. Troubleshooting genuine defects revealed what had gone wrong and why, and surfaced several different ways to fix each one. It was hands-on experience with real failures and how to prevent them.
Construction of the boat
With the evaluation work complete, the team built the half-scale aluminum skiff on a jig, controlling distortion at every step.
-
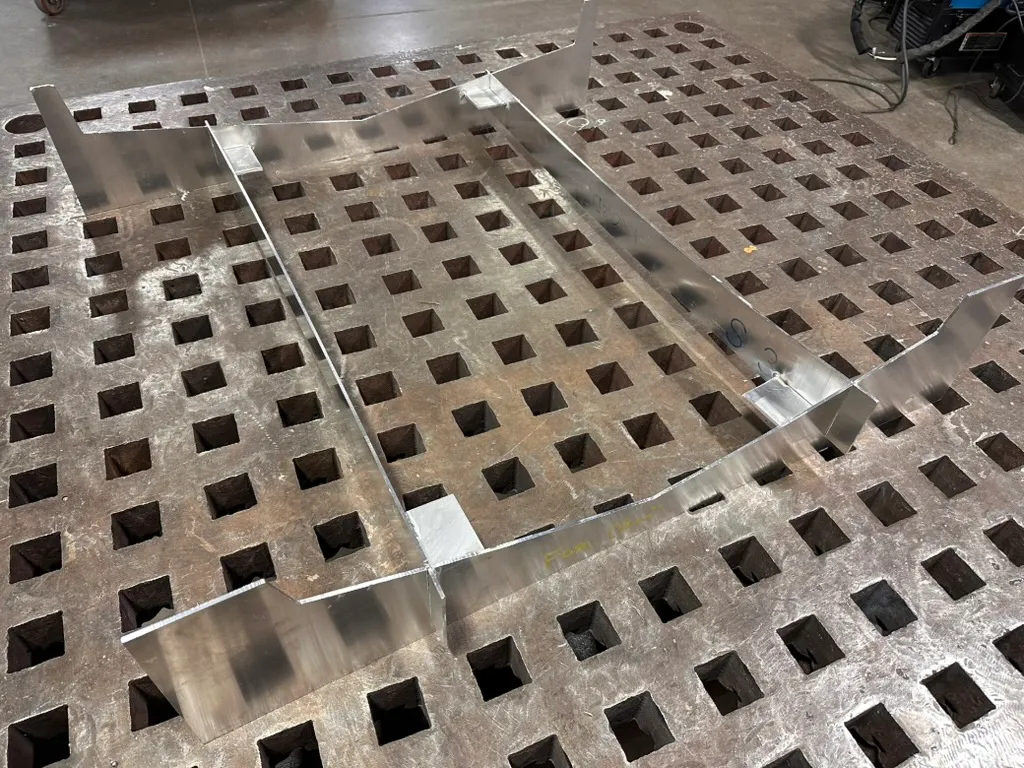
Build the jig
Assemble and tack-weld a square building jig to hold the hull true while it goes together.
-
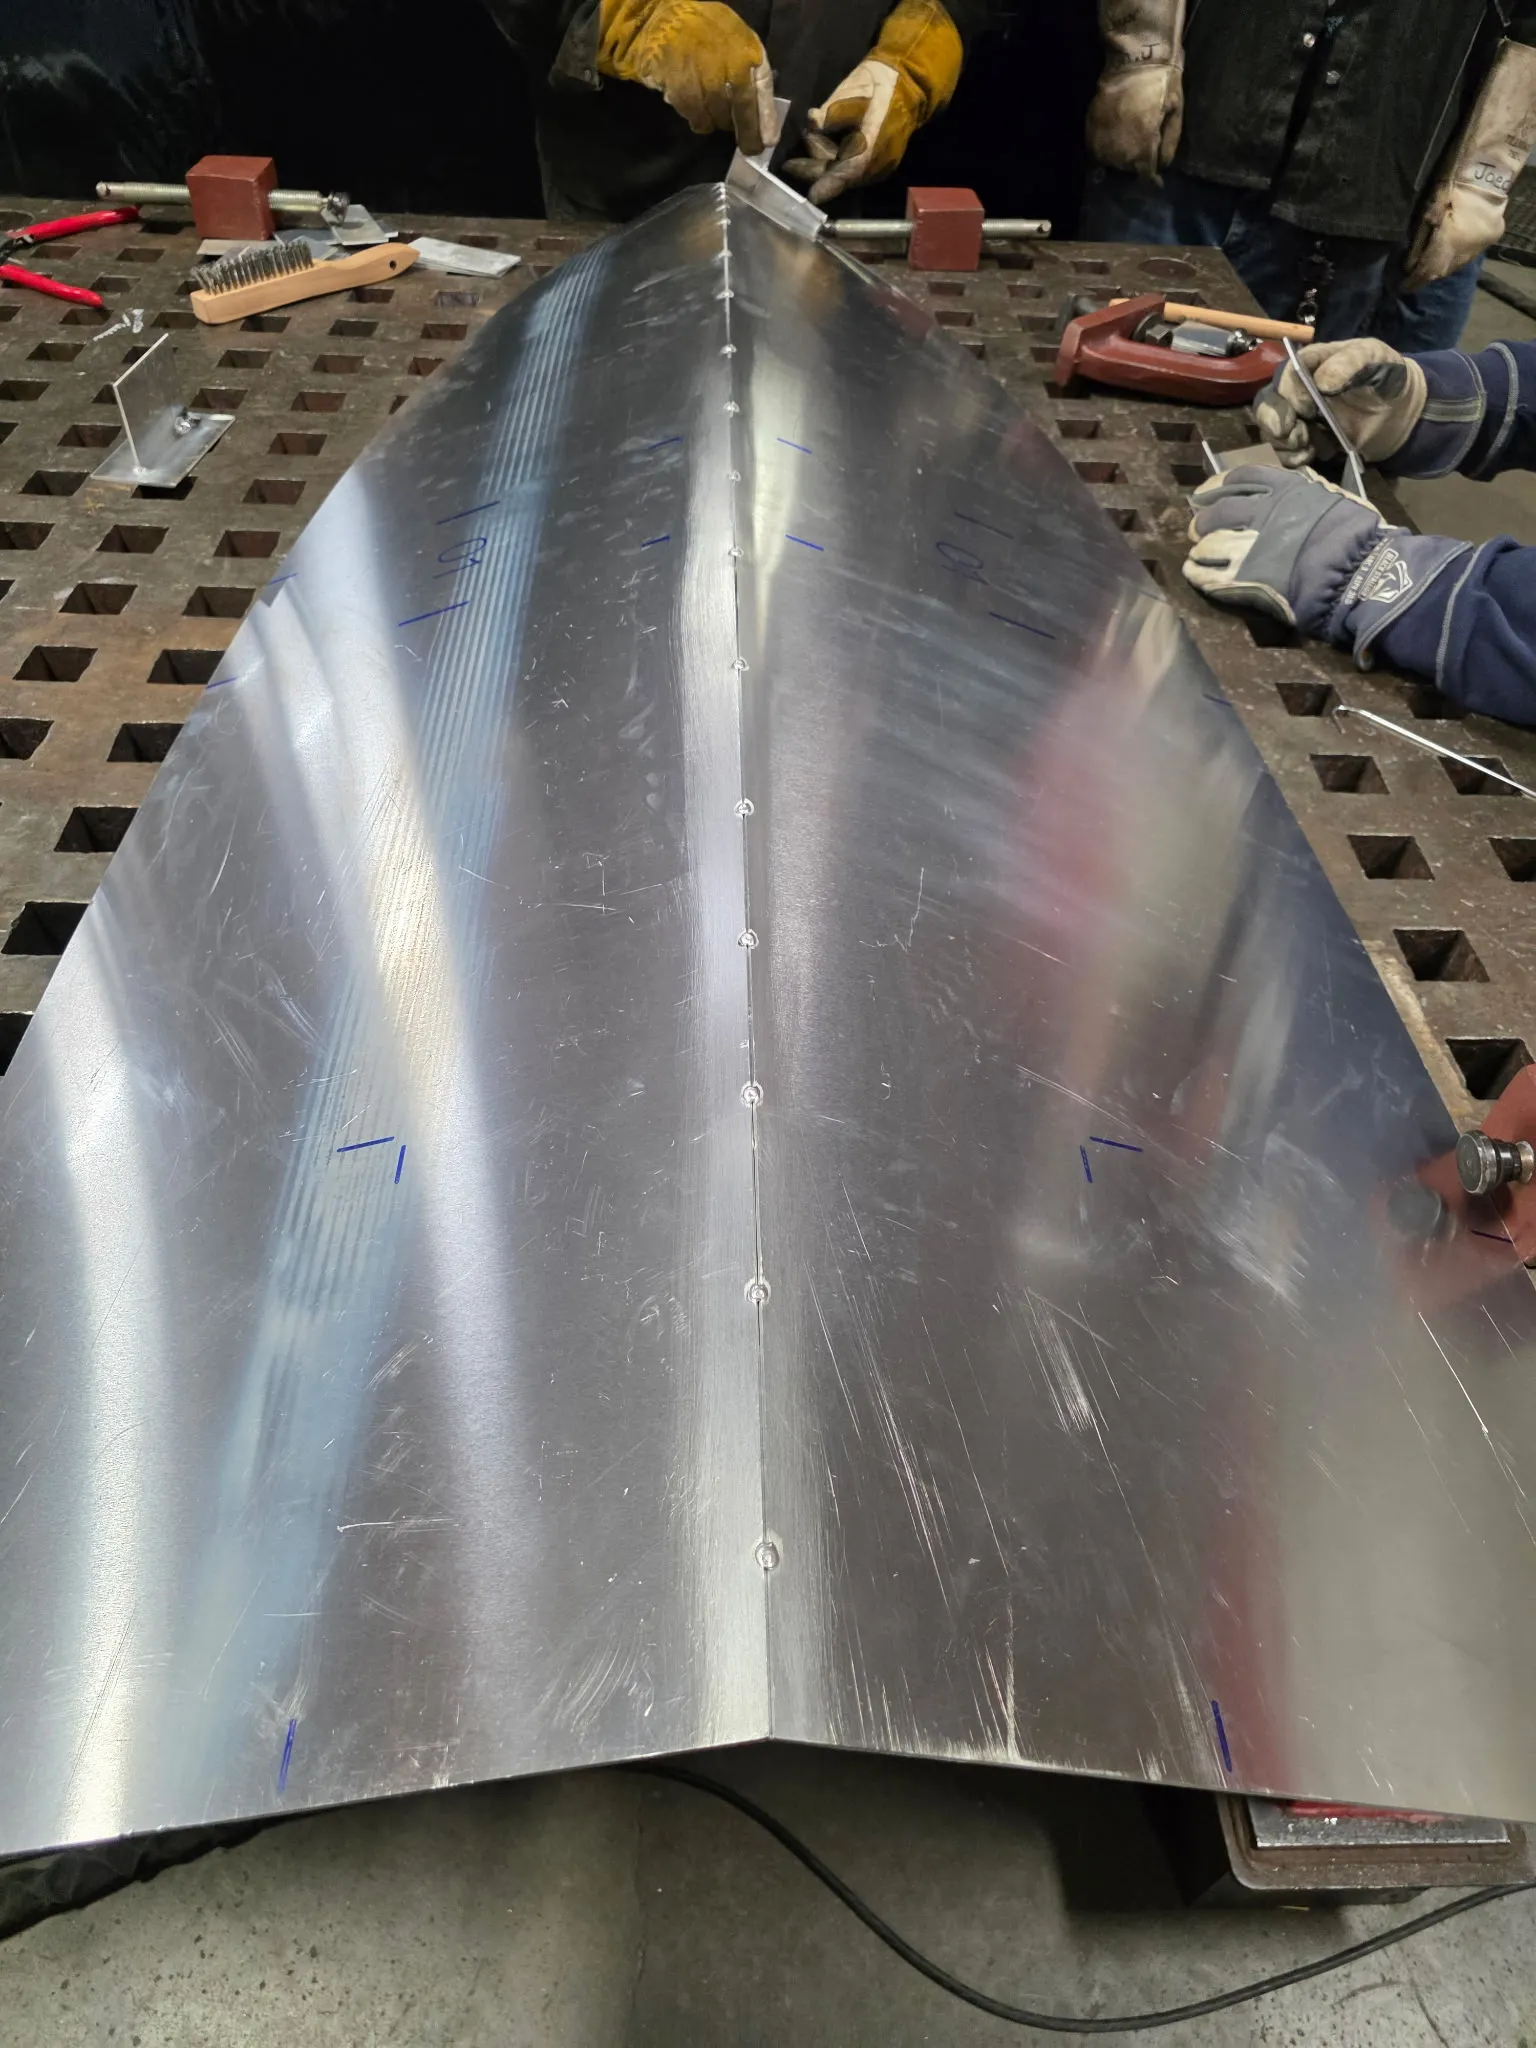
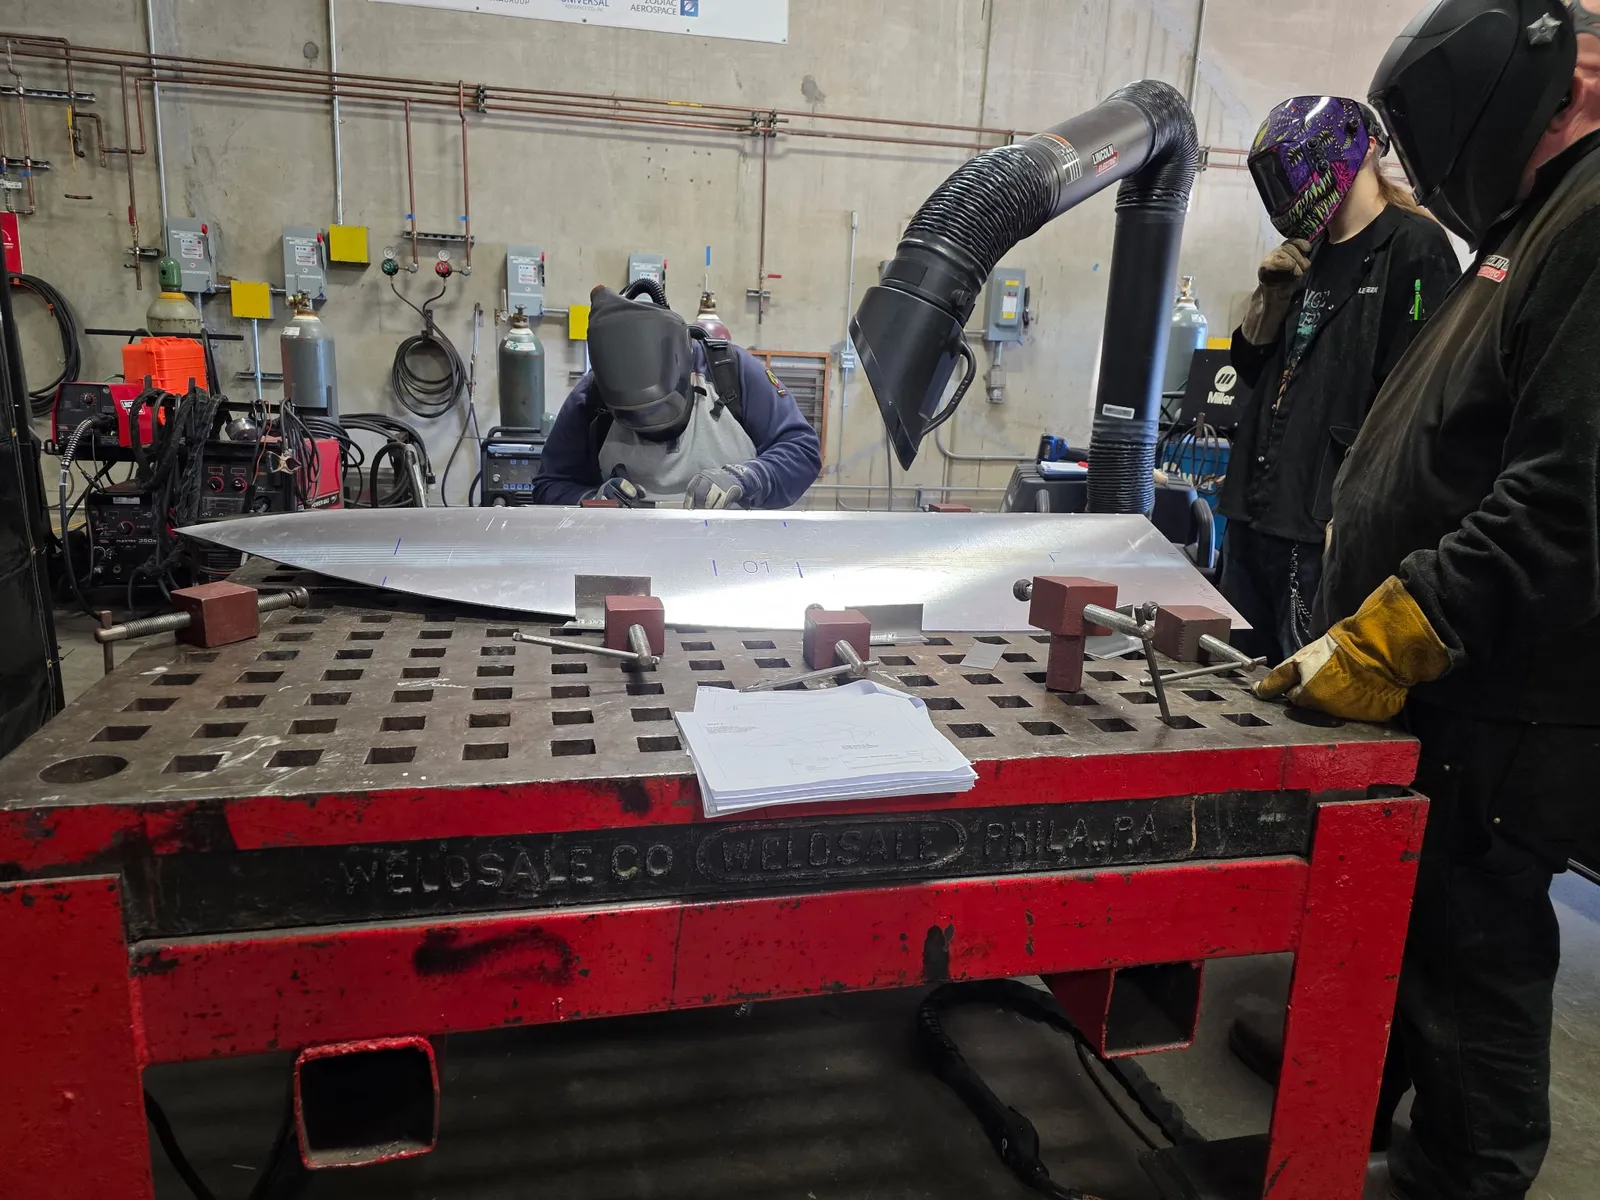
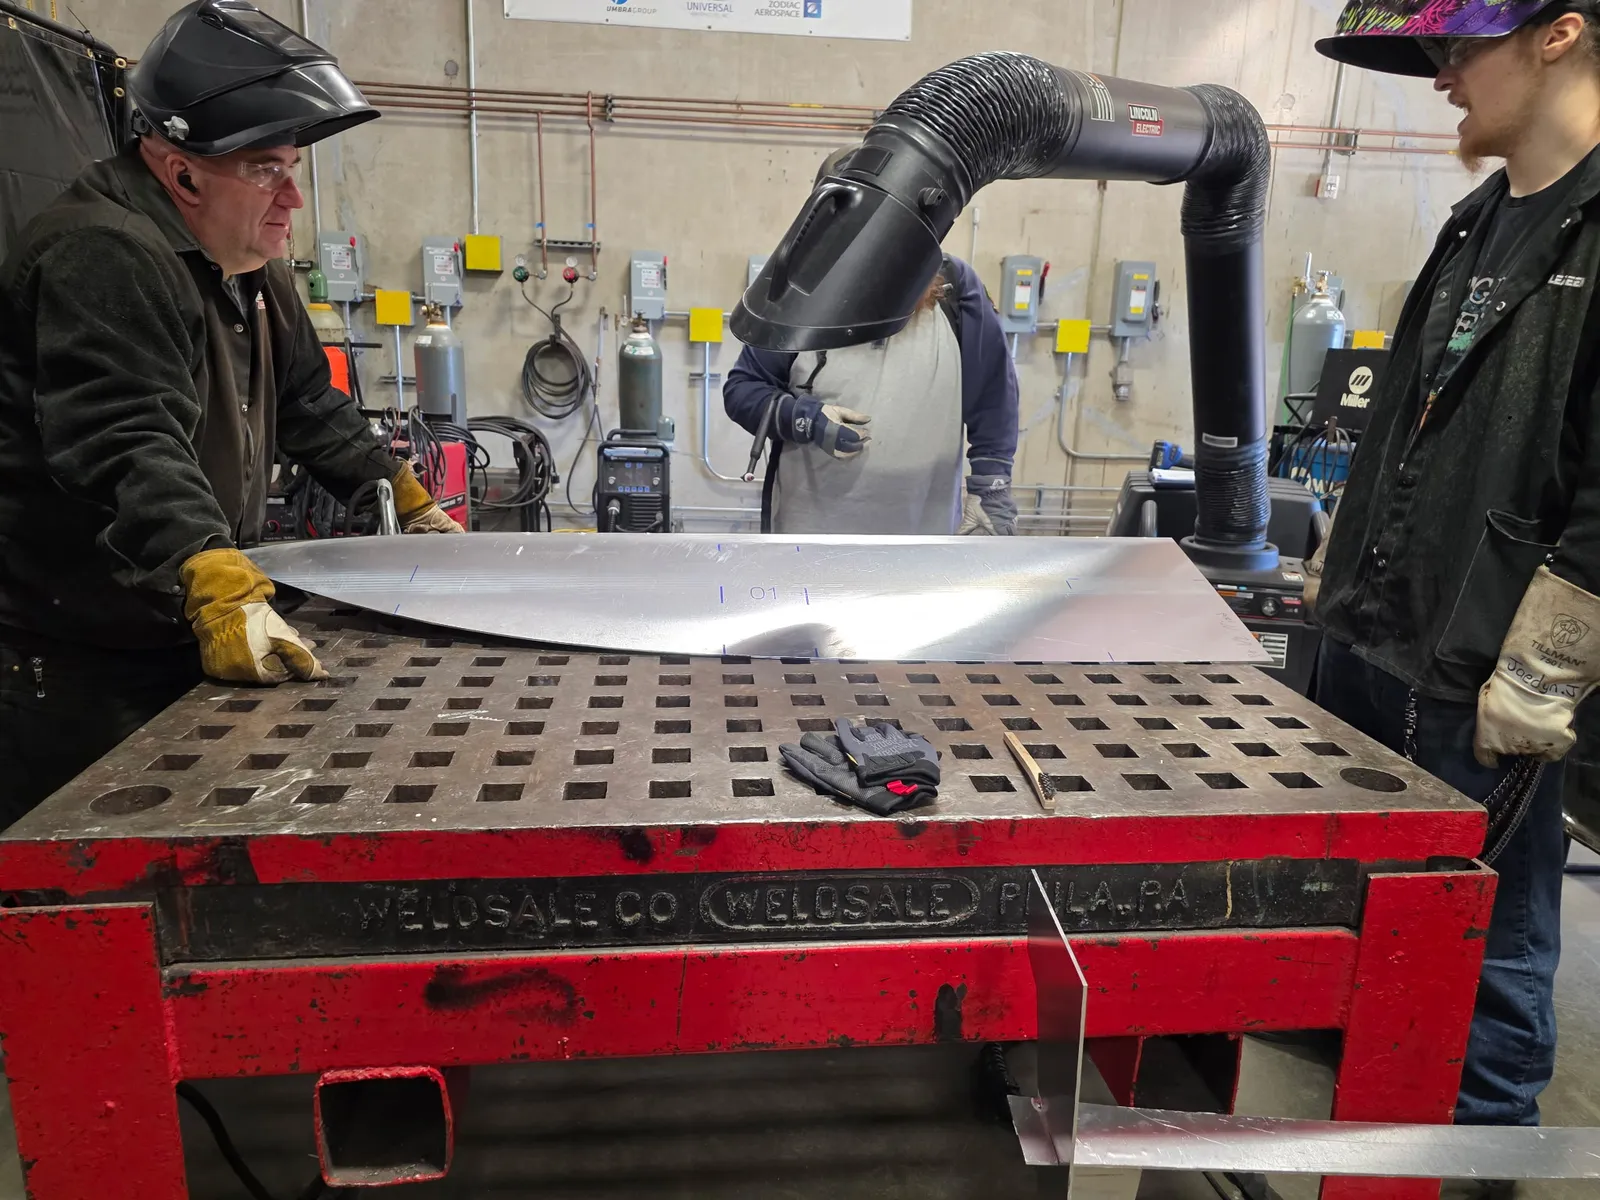
Bottom plates
Set the cut bottom plates into the jig and tack along the centerline so everything lines up.
-
Bulkheads
Install and weld in the bulkheads that divide and stiffen the hull.

Construction Timelapse -
Gunnels & strakes
Fit the aluminum rub-rail tubing and strakes before final welding to help control distortion.

Construction Timelapse -
Transom
Fit the transom and corner brackets at the stern.

Construction Timelapse
Additional work
Beyond the hull, three custom aluminum details finish the boat. Each was modeled in Fusion 360, exported as a DXF, and waterjet cut from aluminum before being fitted in place.
-
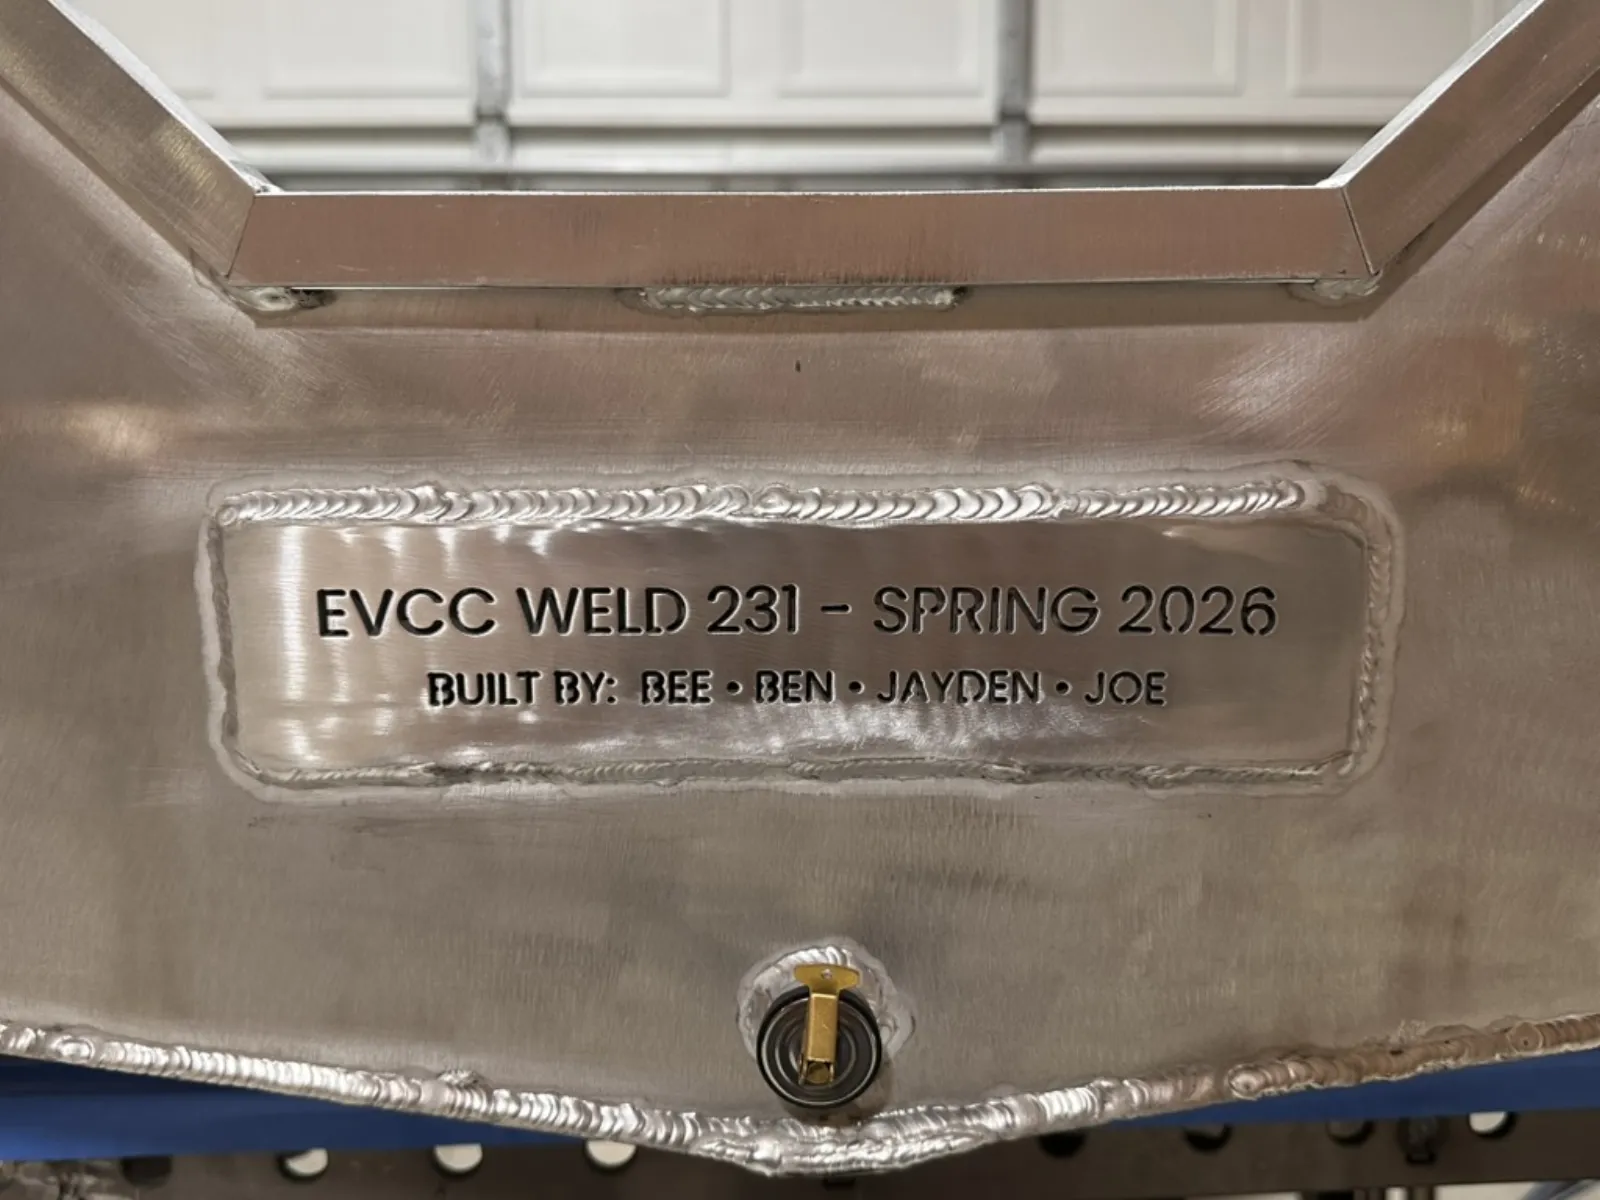
Maker's mark
A builder's plaque marking the project: EVCC WELD 231, Spring 2026. It was drawn as a 10-inch plate with radiused corners, and the text was cut straight through so the lettering reads as open voids against the hull. Stencil-style letters require their enclosed centers to be held in place, so the middle of each O and D is tied back to the plate with thin bridges, keeping the plaque a single connected piece. The plate is thin and decorative, welded to the stern.
Makers Mark -
Boat name
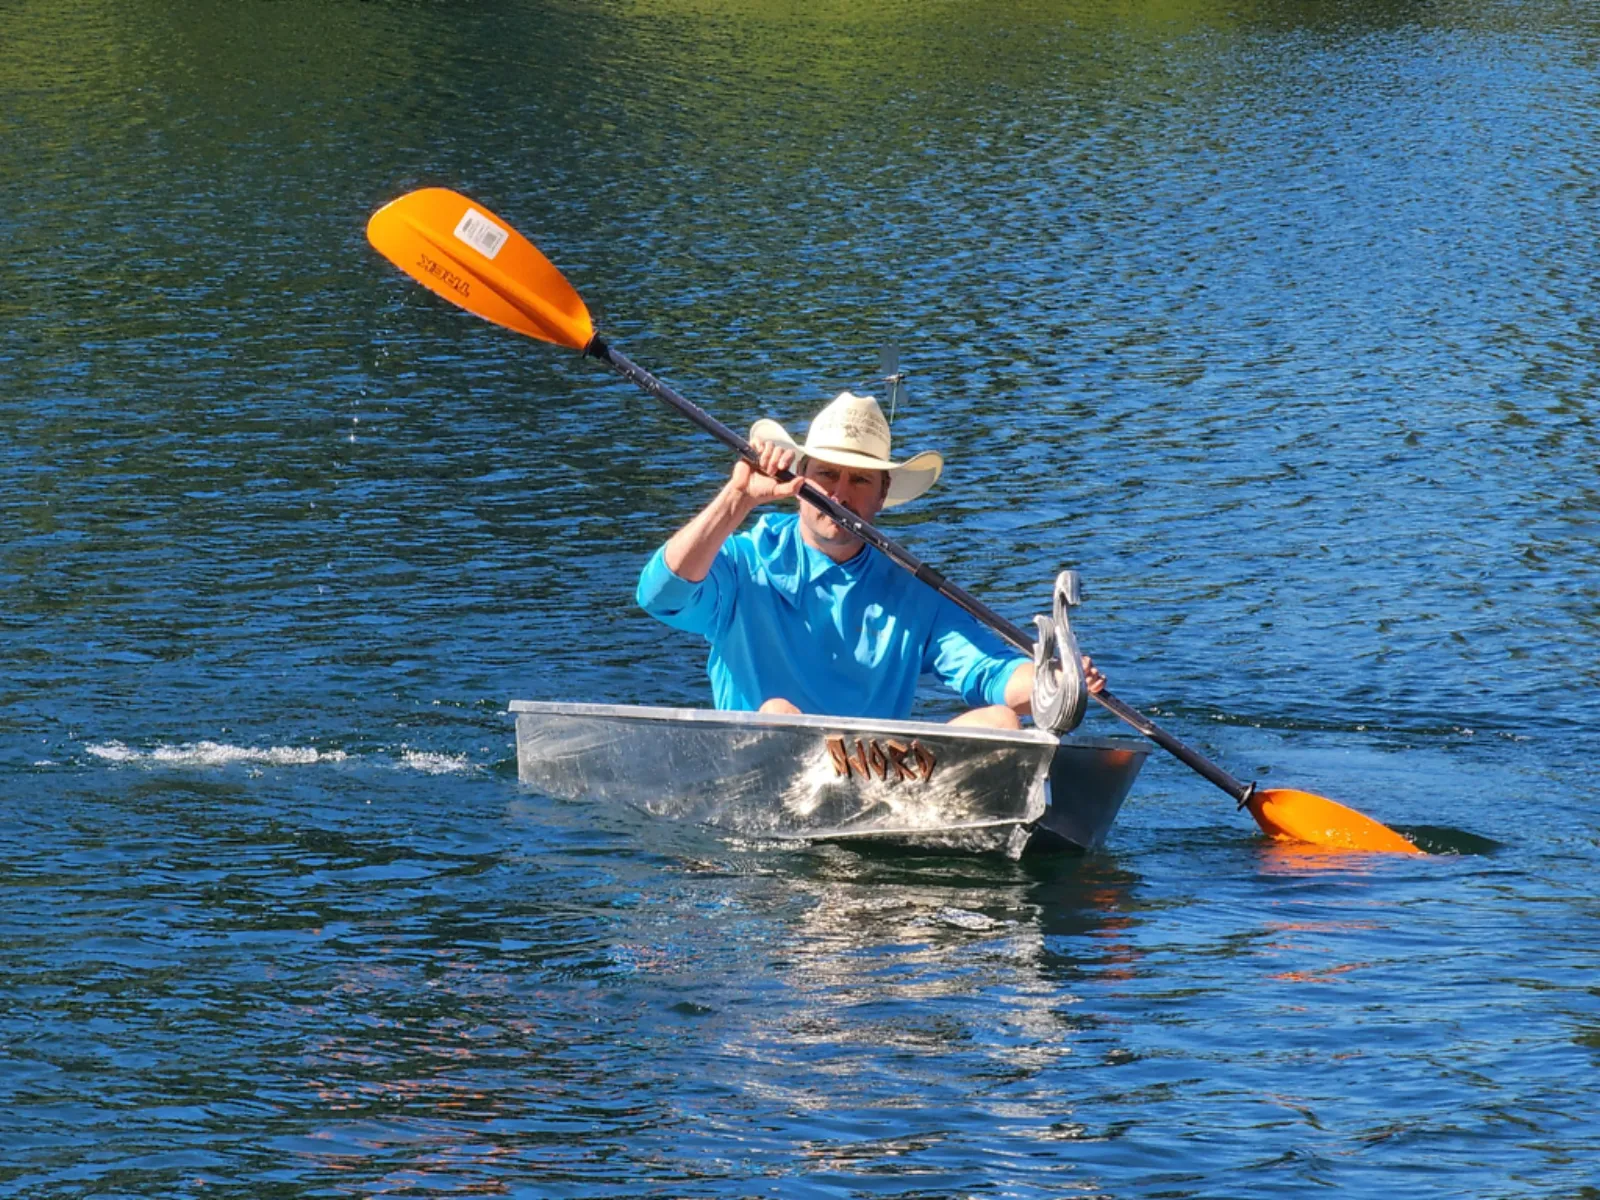
The boat's name in a custom runic alphabet that echoes the Njord theme, roughly eight inches wide and cut as five separate letters. Cutting each letter individually allowed the spacing to be set by hand to follow the curve of the hull, with a full-scale printout used as a positioning template. The diamond and triangle voids inside the letters are left open so the hull shows through. The letters were primed with an aluminum self-etching primer and painted with metallic bronze to provide contrast against the clean aluminum hull. Because thin letters are prone to warping under welding heat, they were riveted to the side rather than welded.
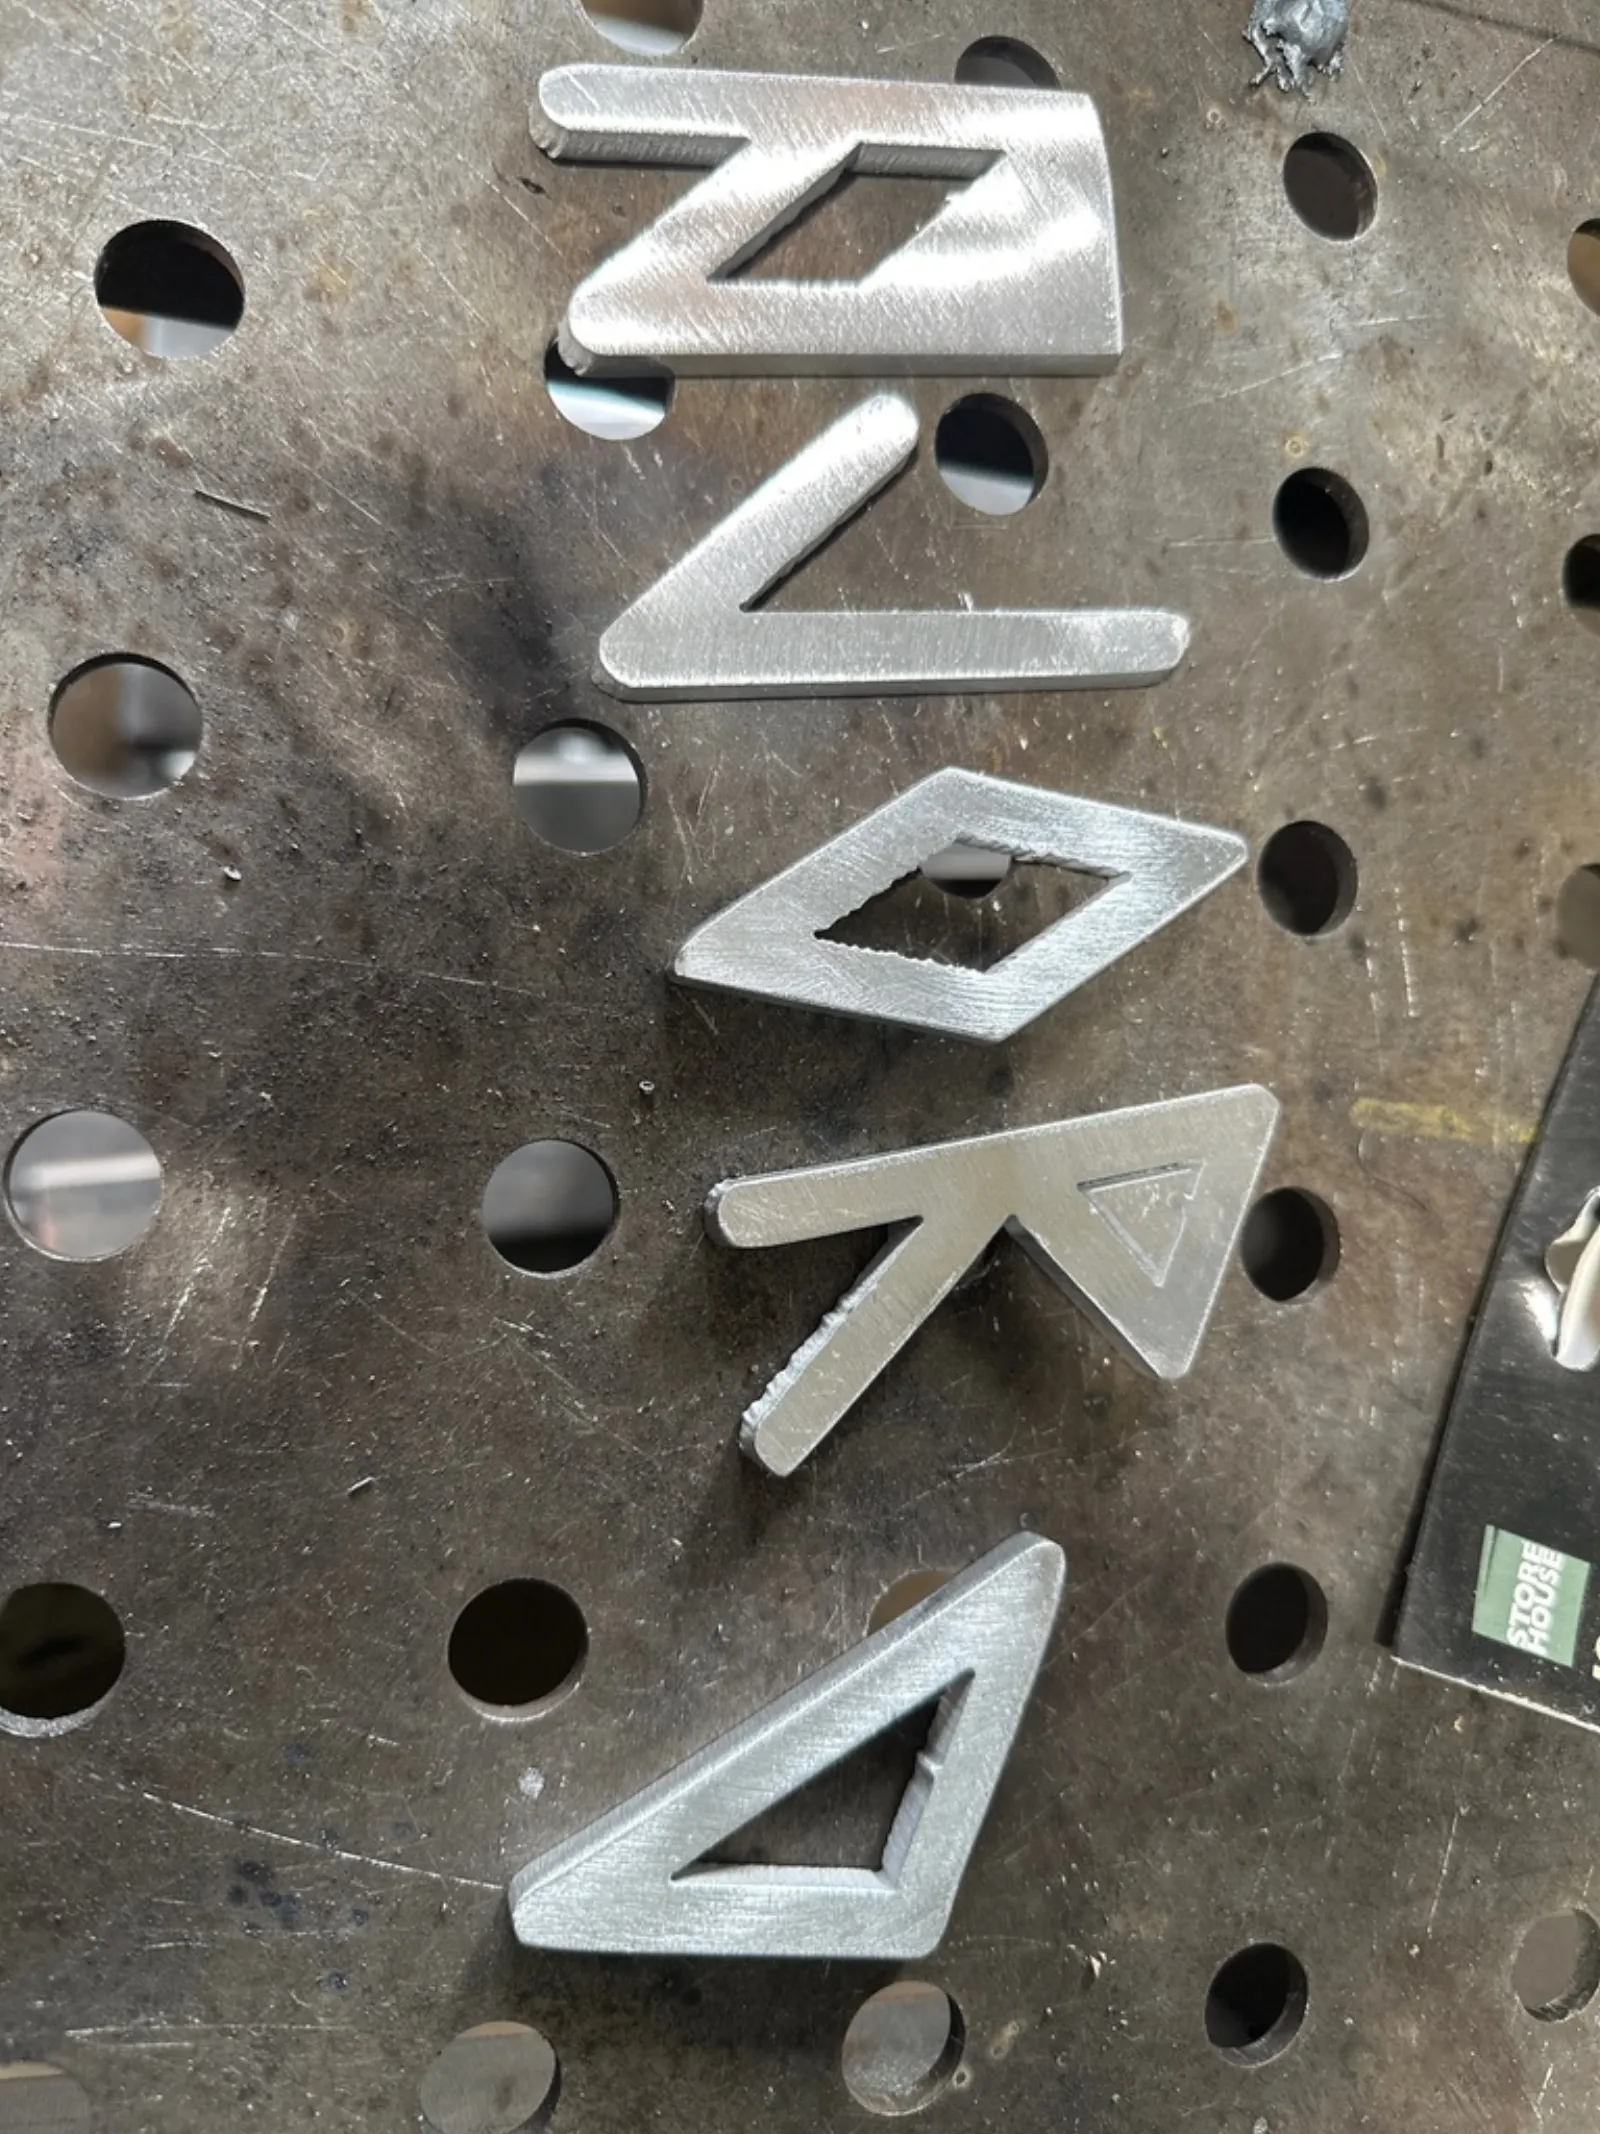
Waterjet letters 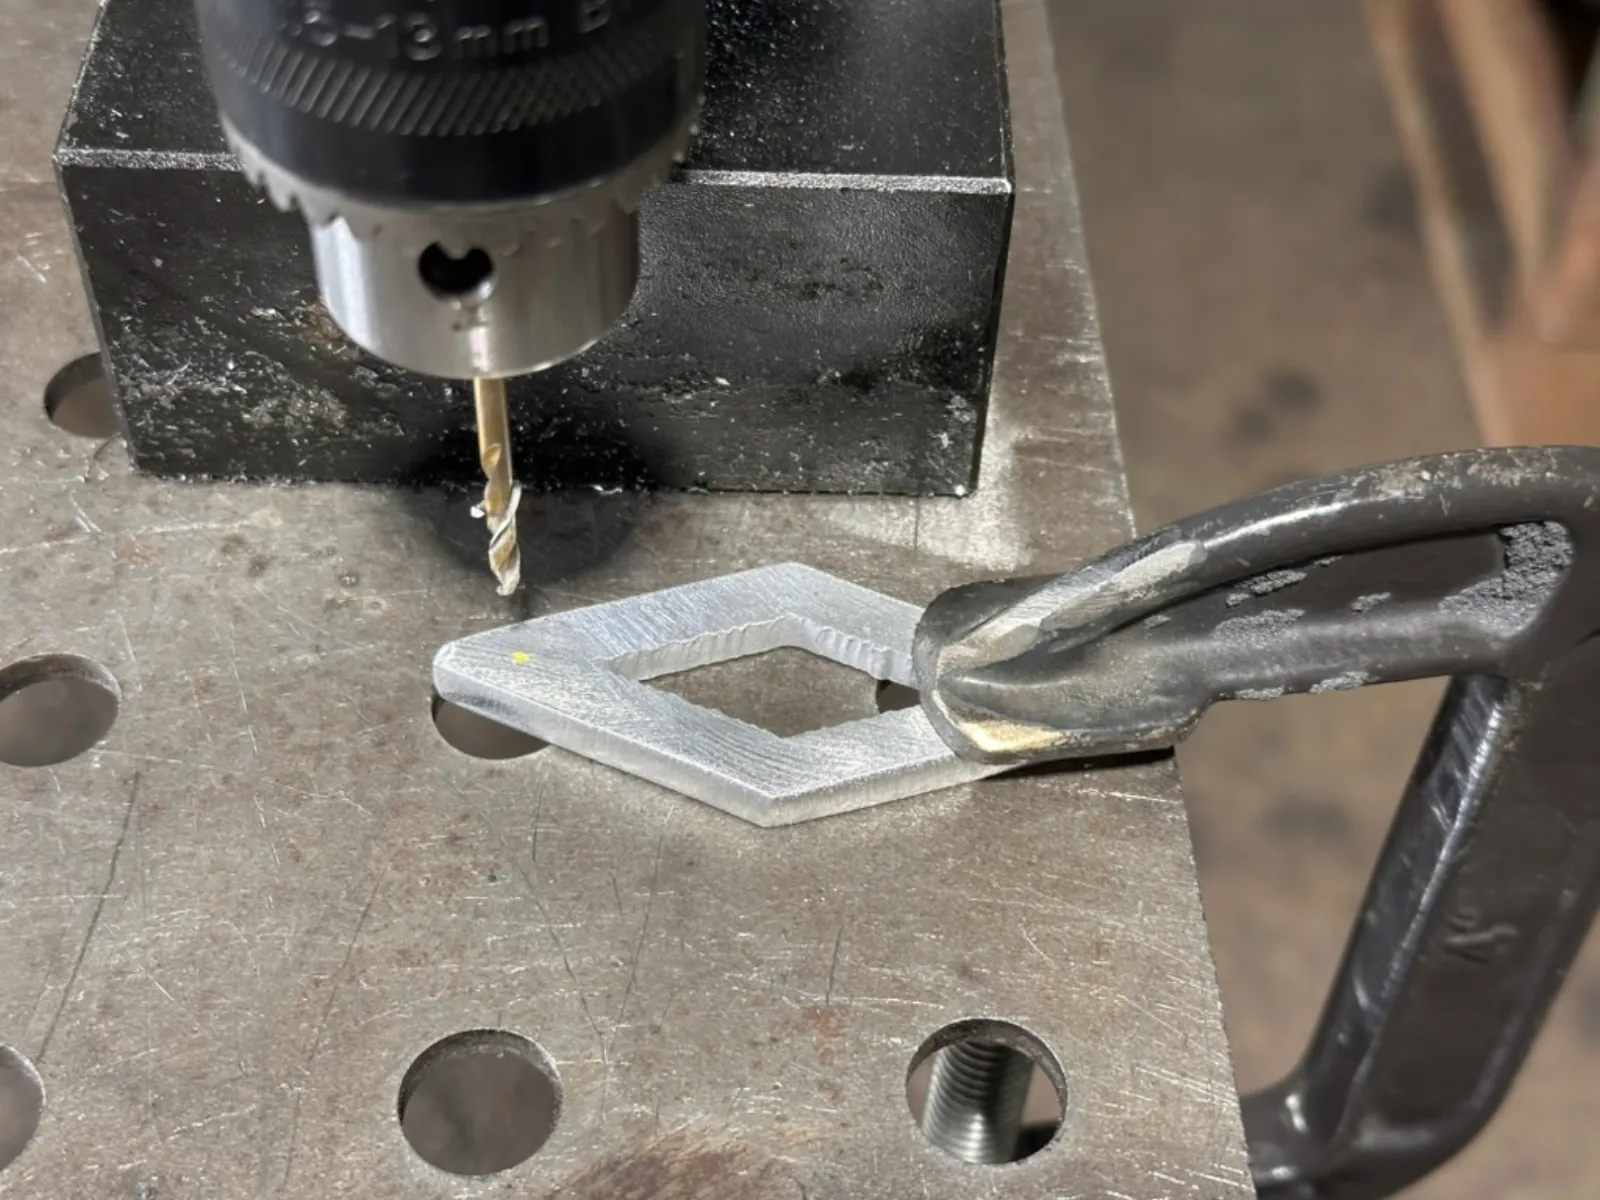
Drilling rivet mounts 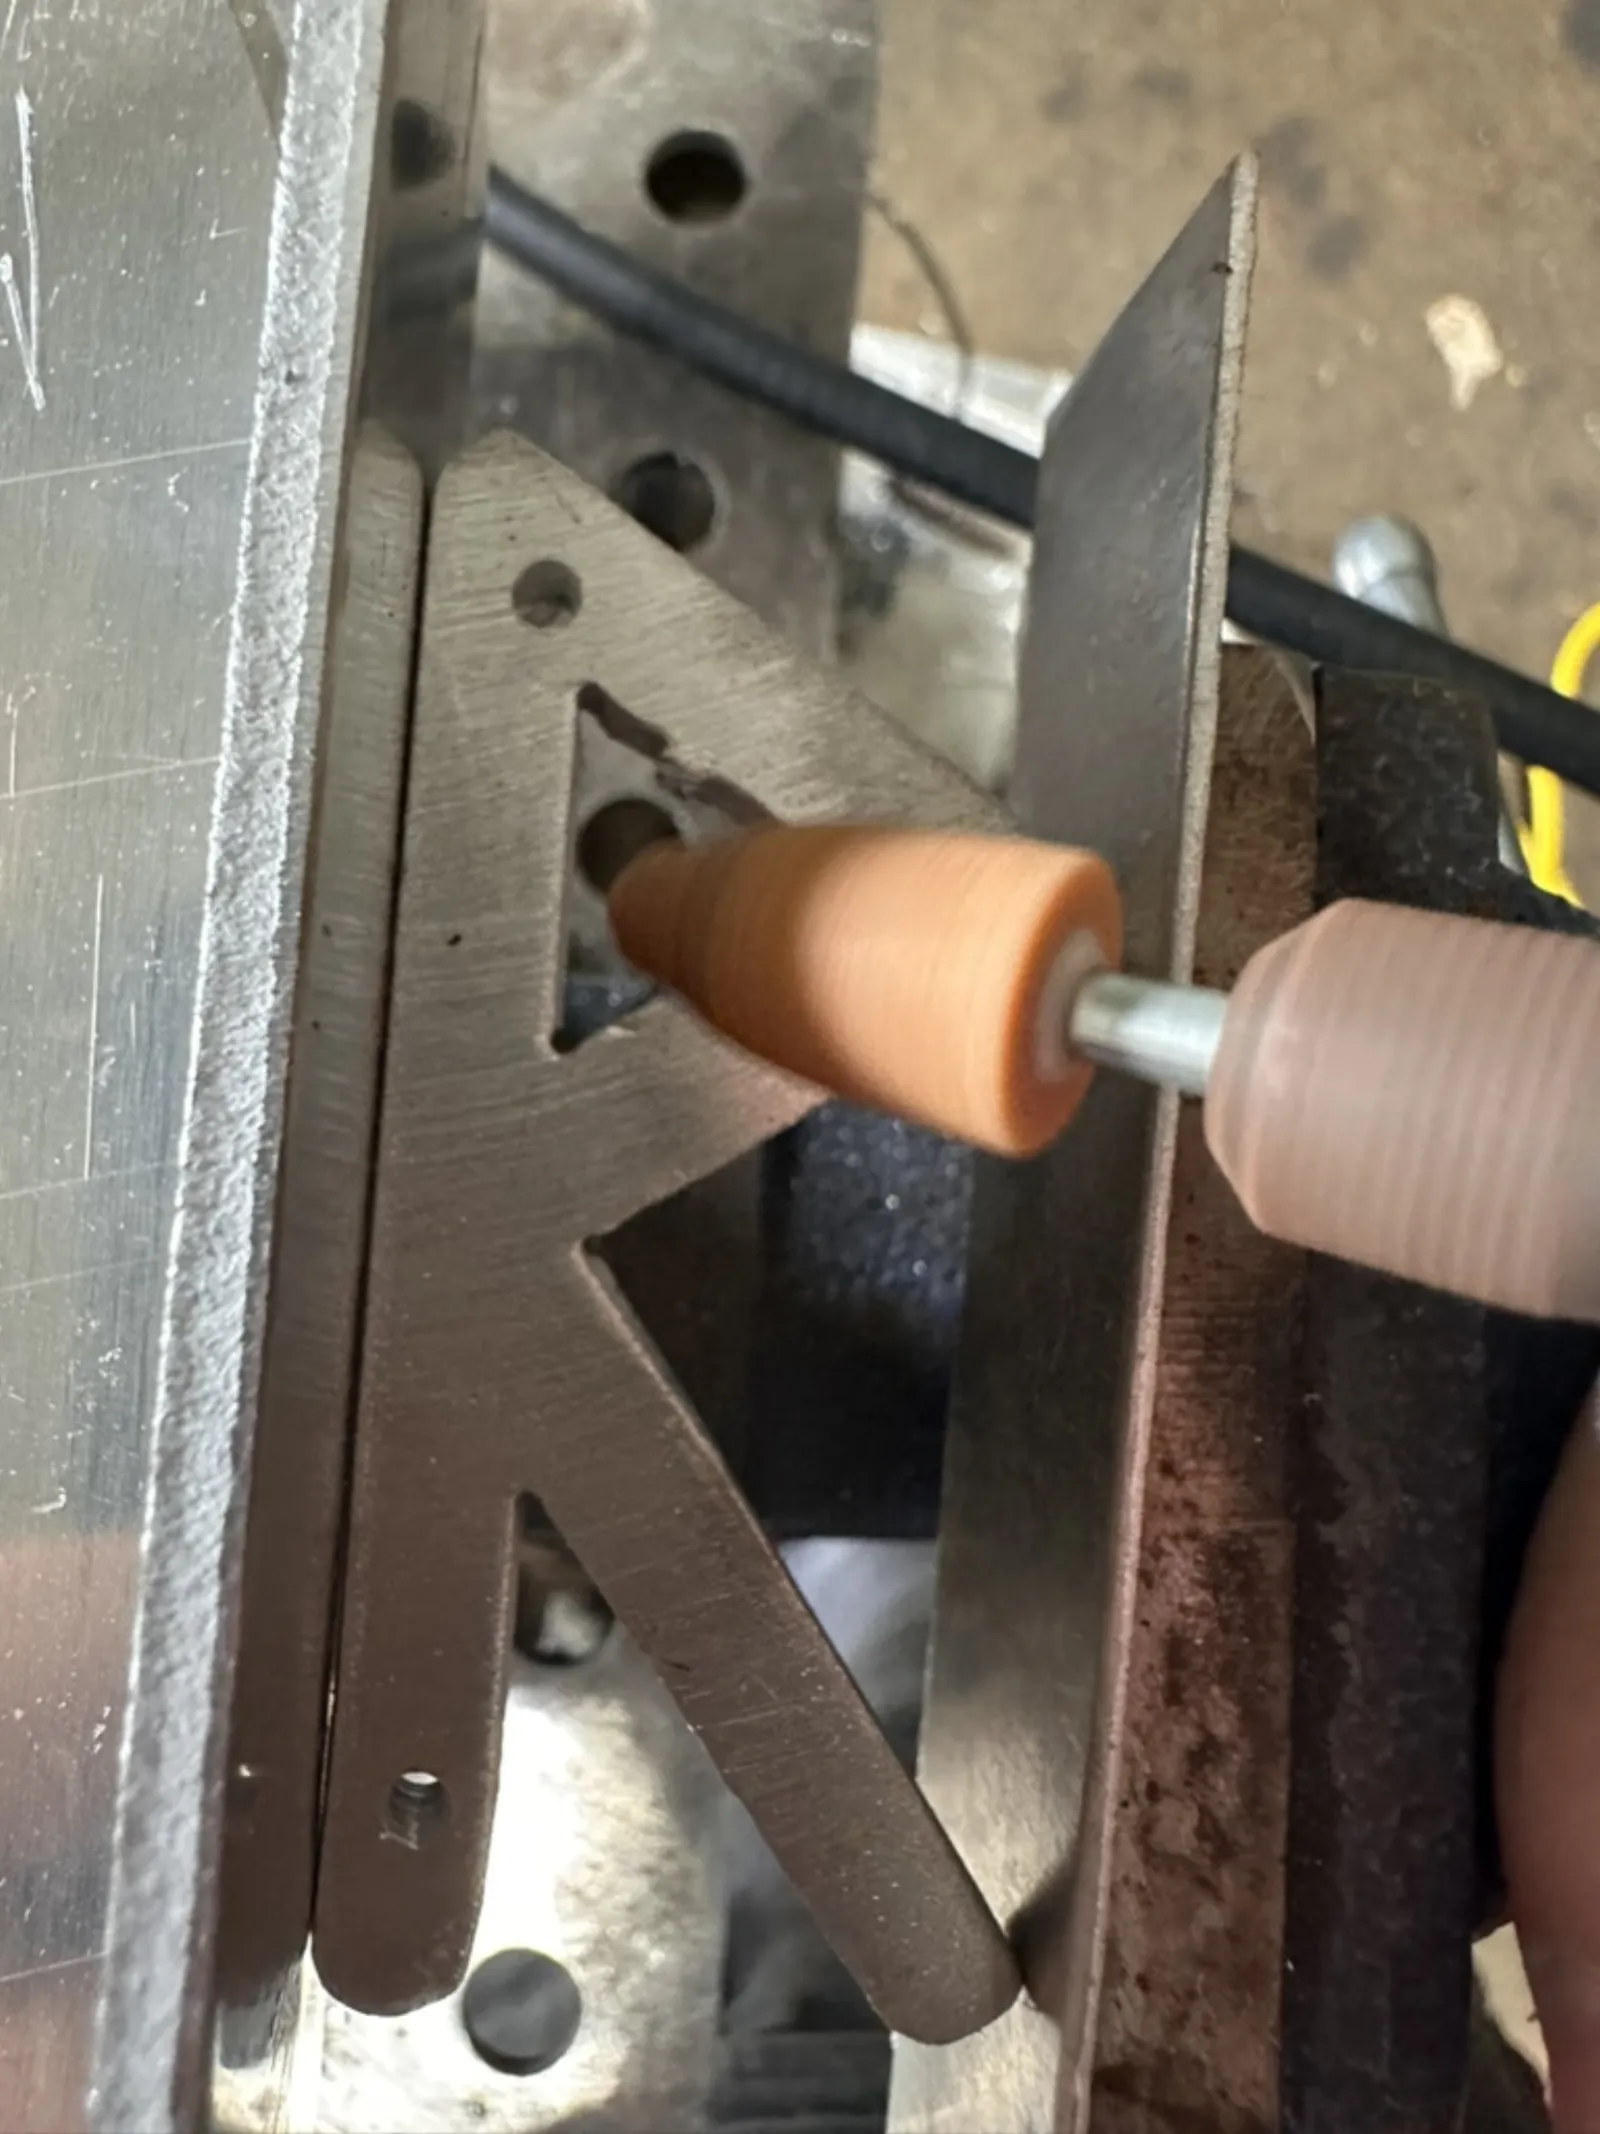
Cleaning letters 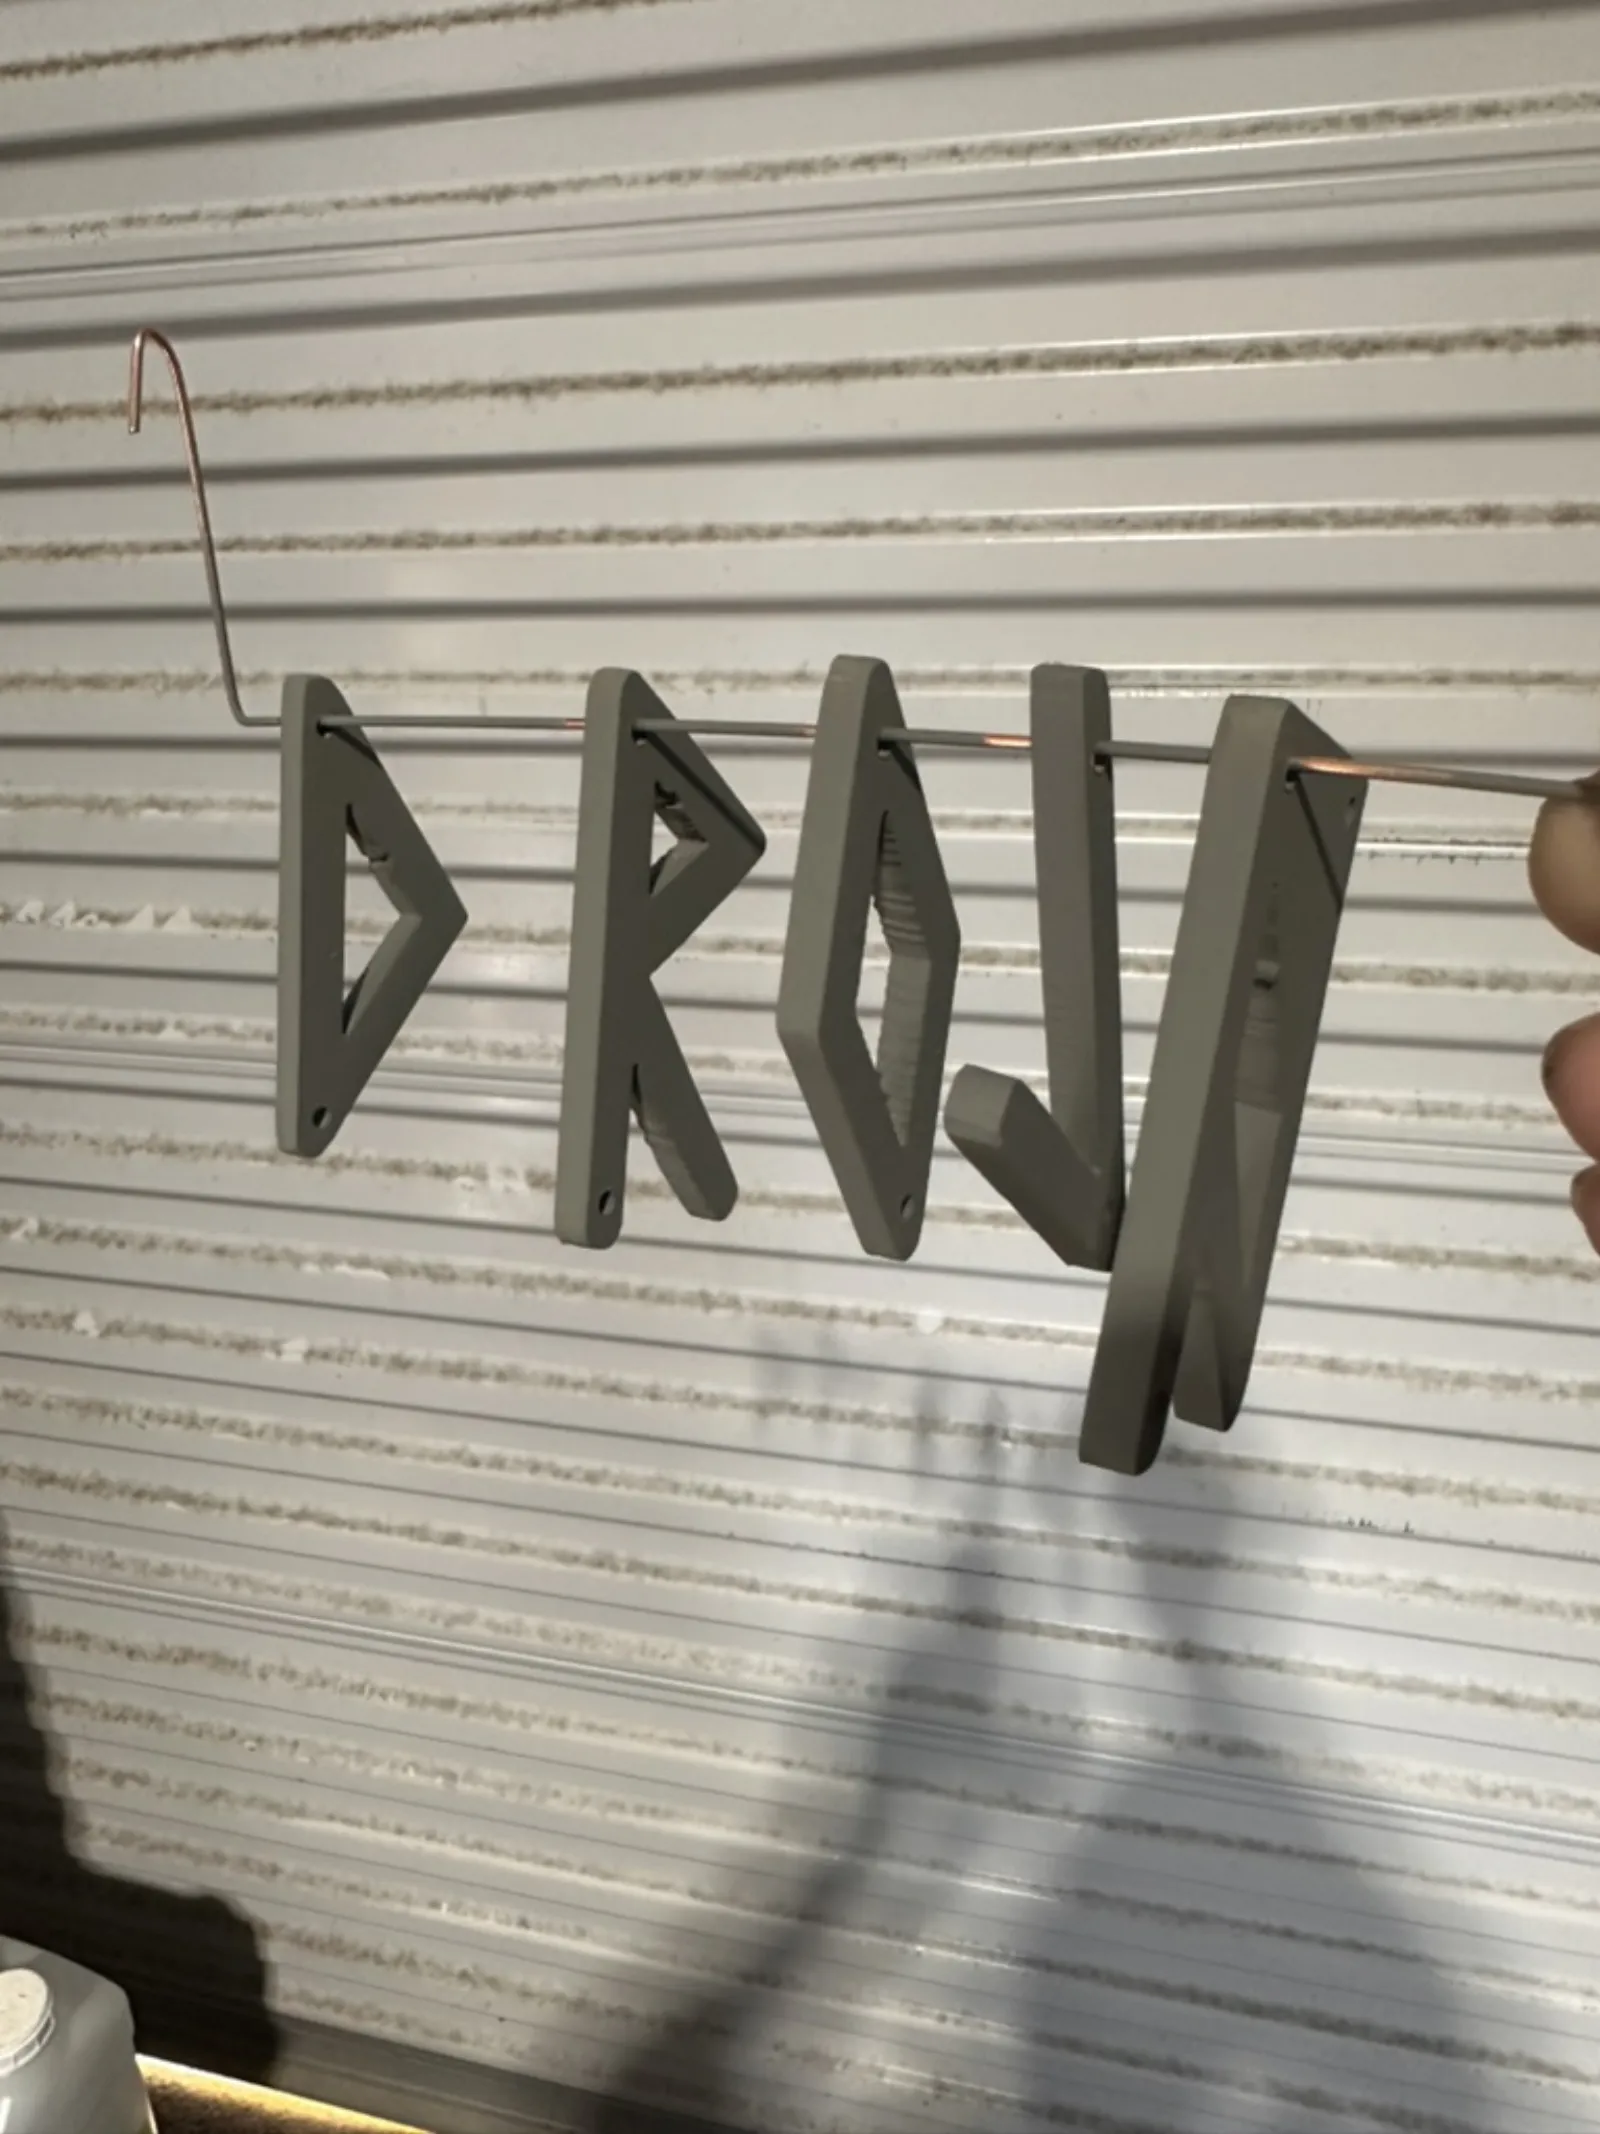
Primed letters 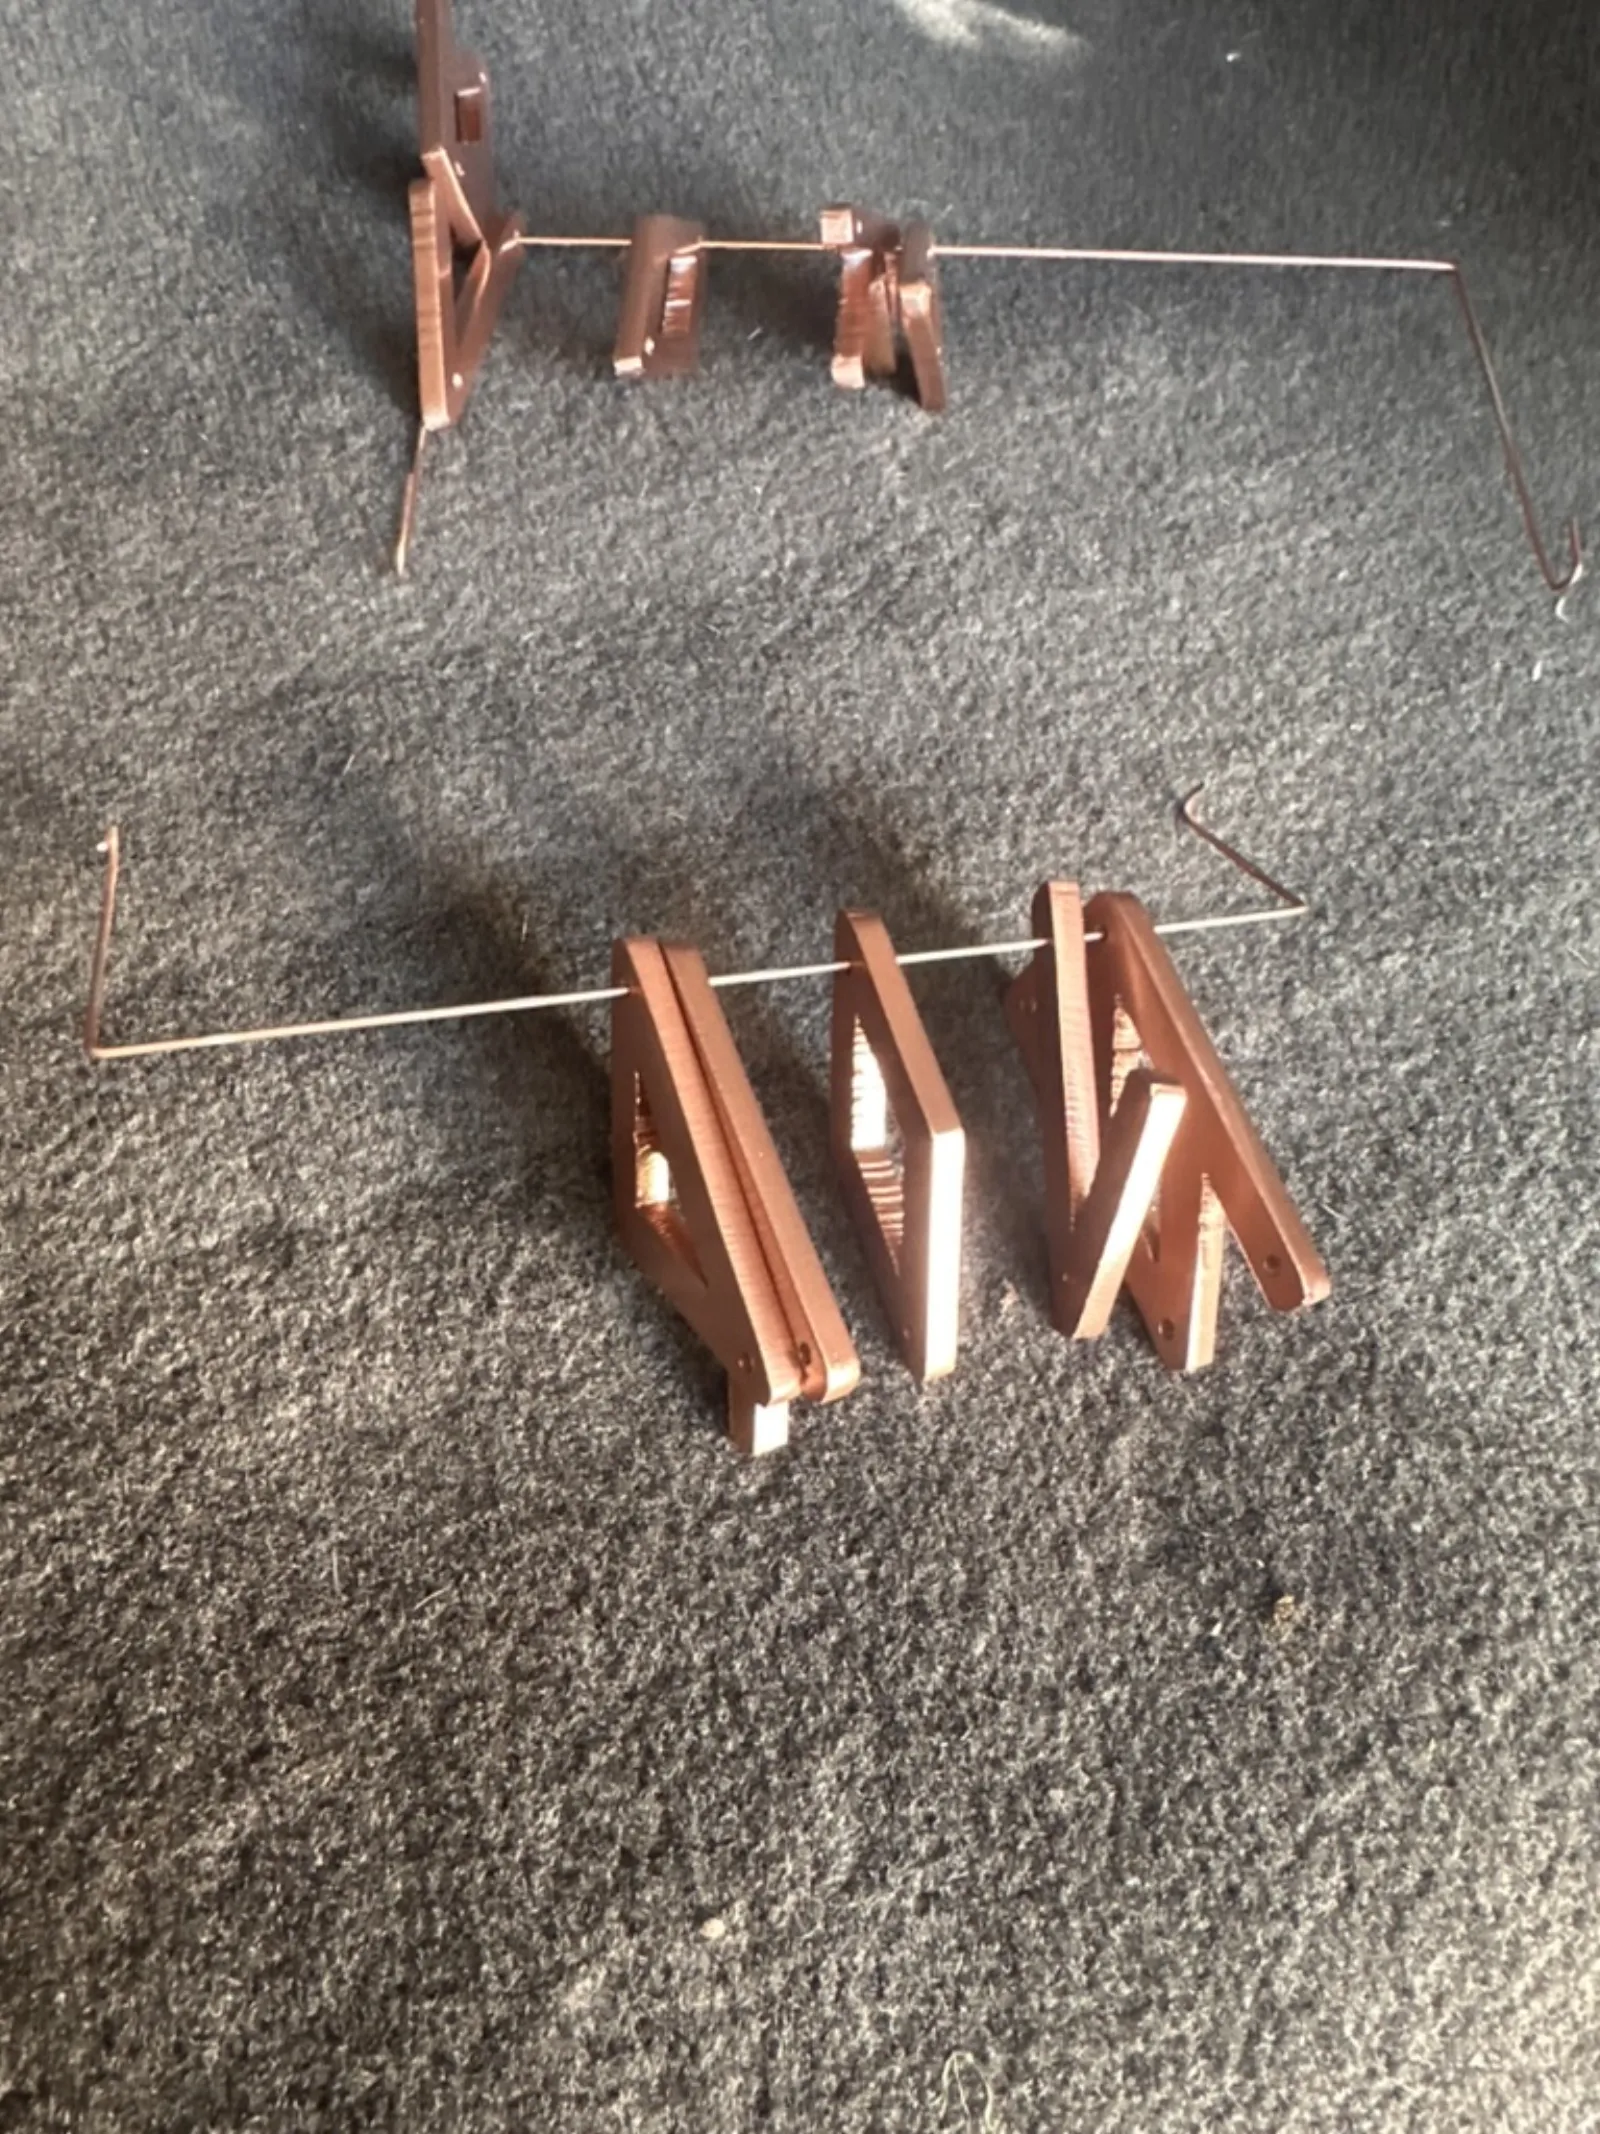
Painted letters 
Rivet Timelapse -
Swan figurehead
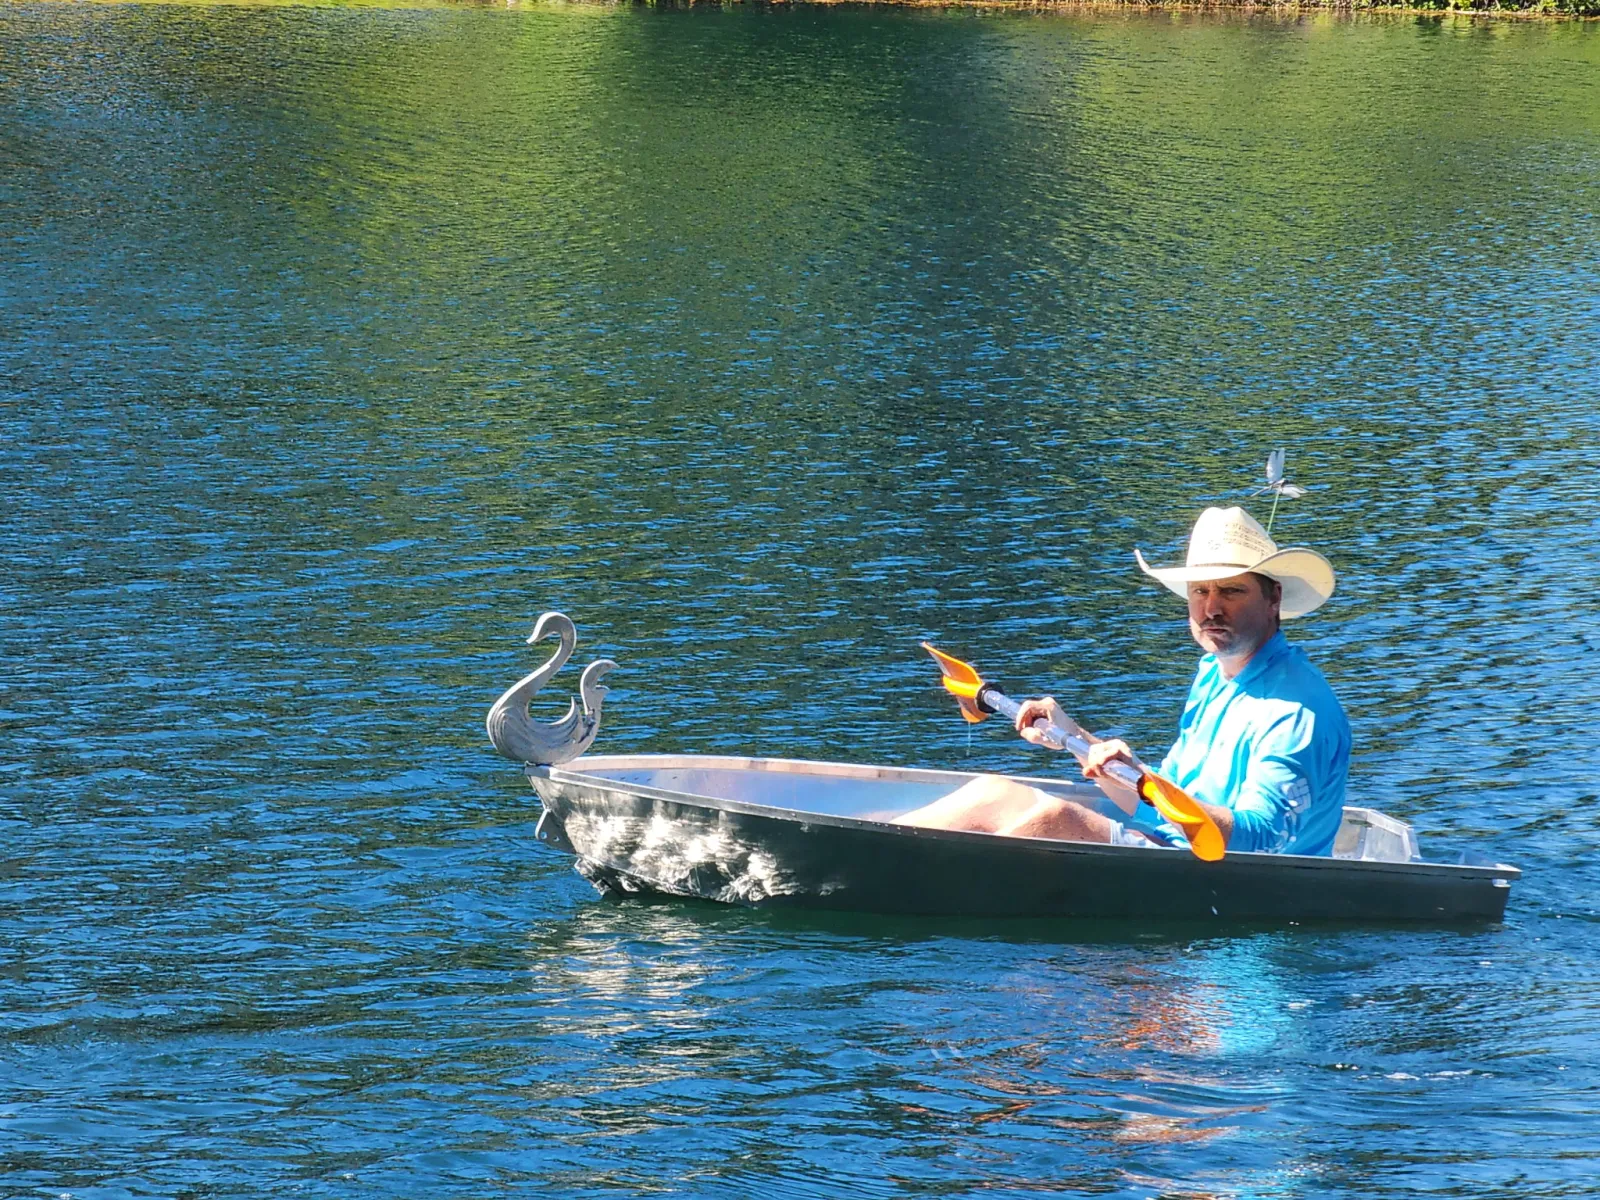
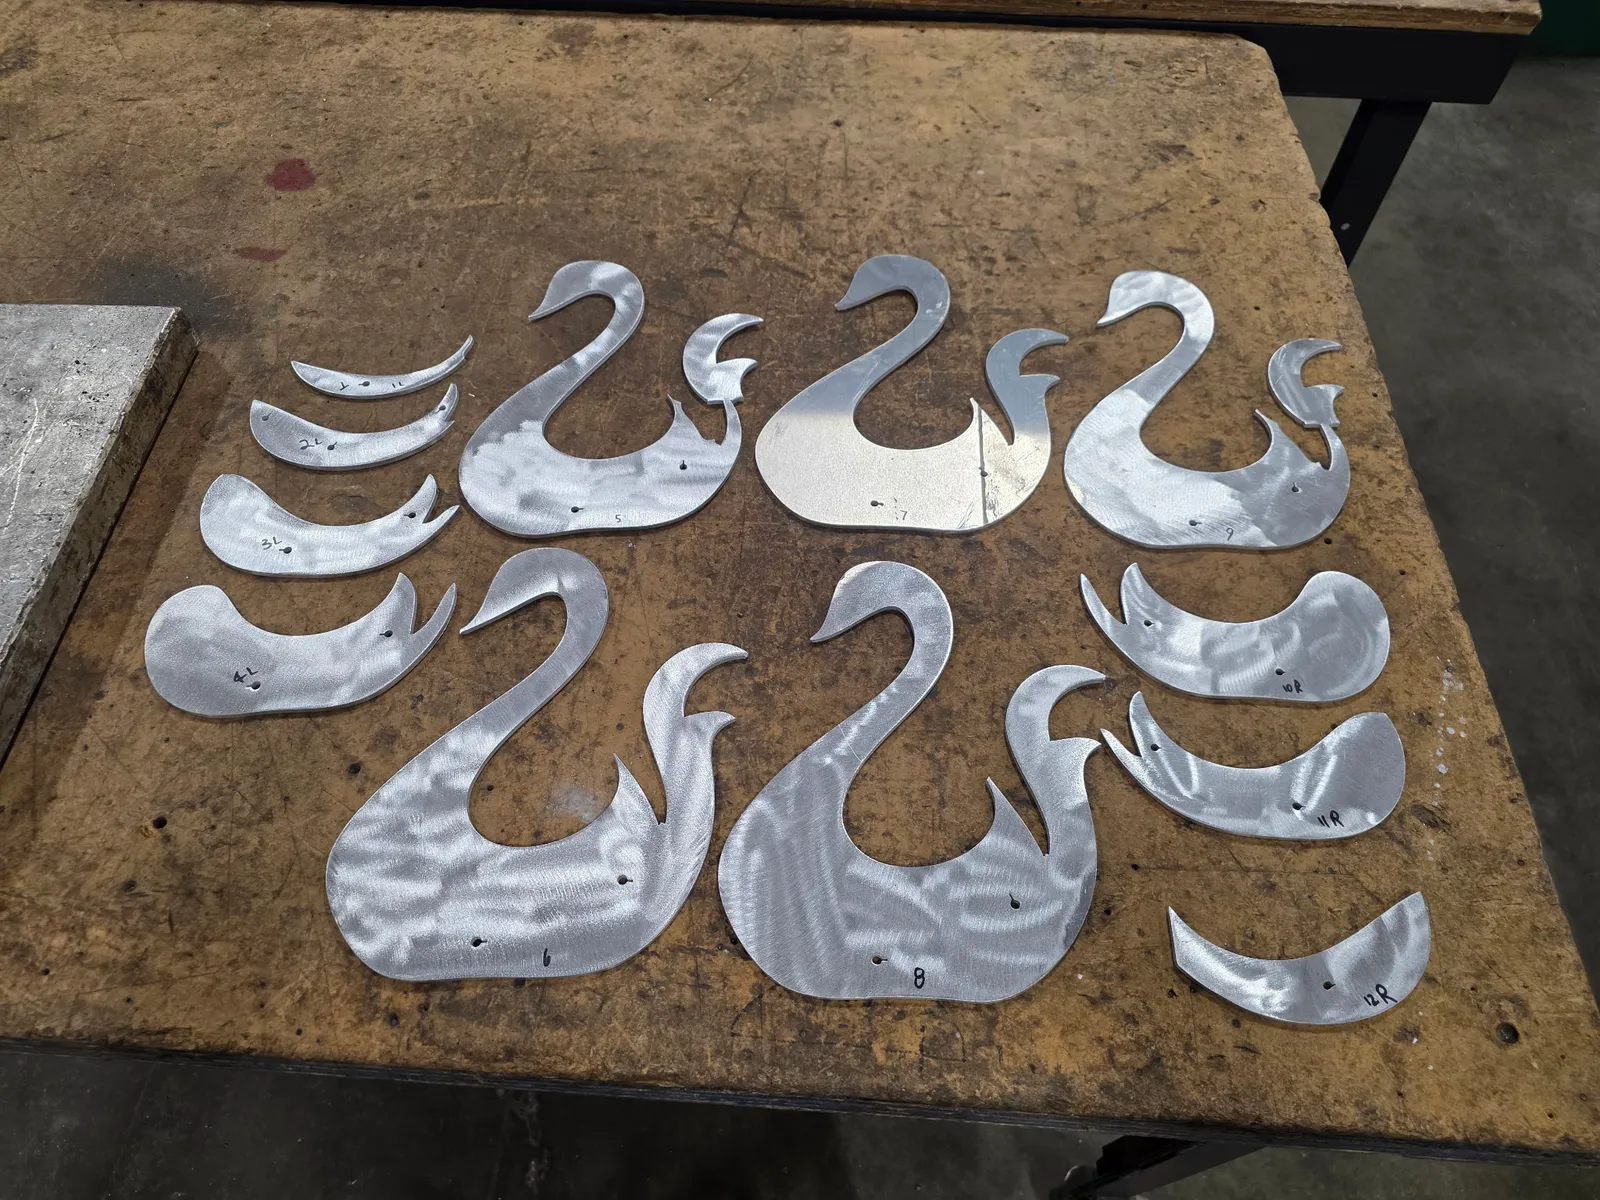
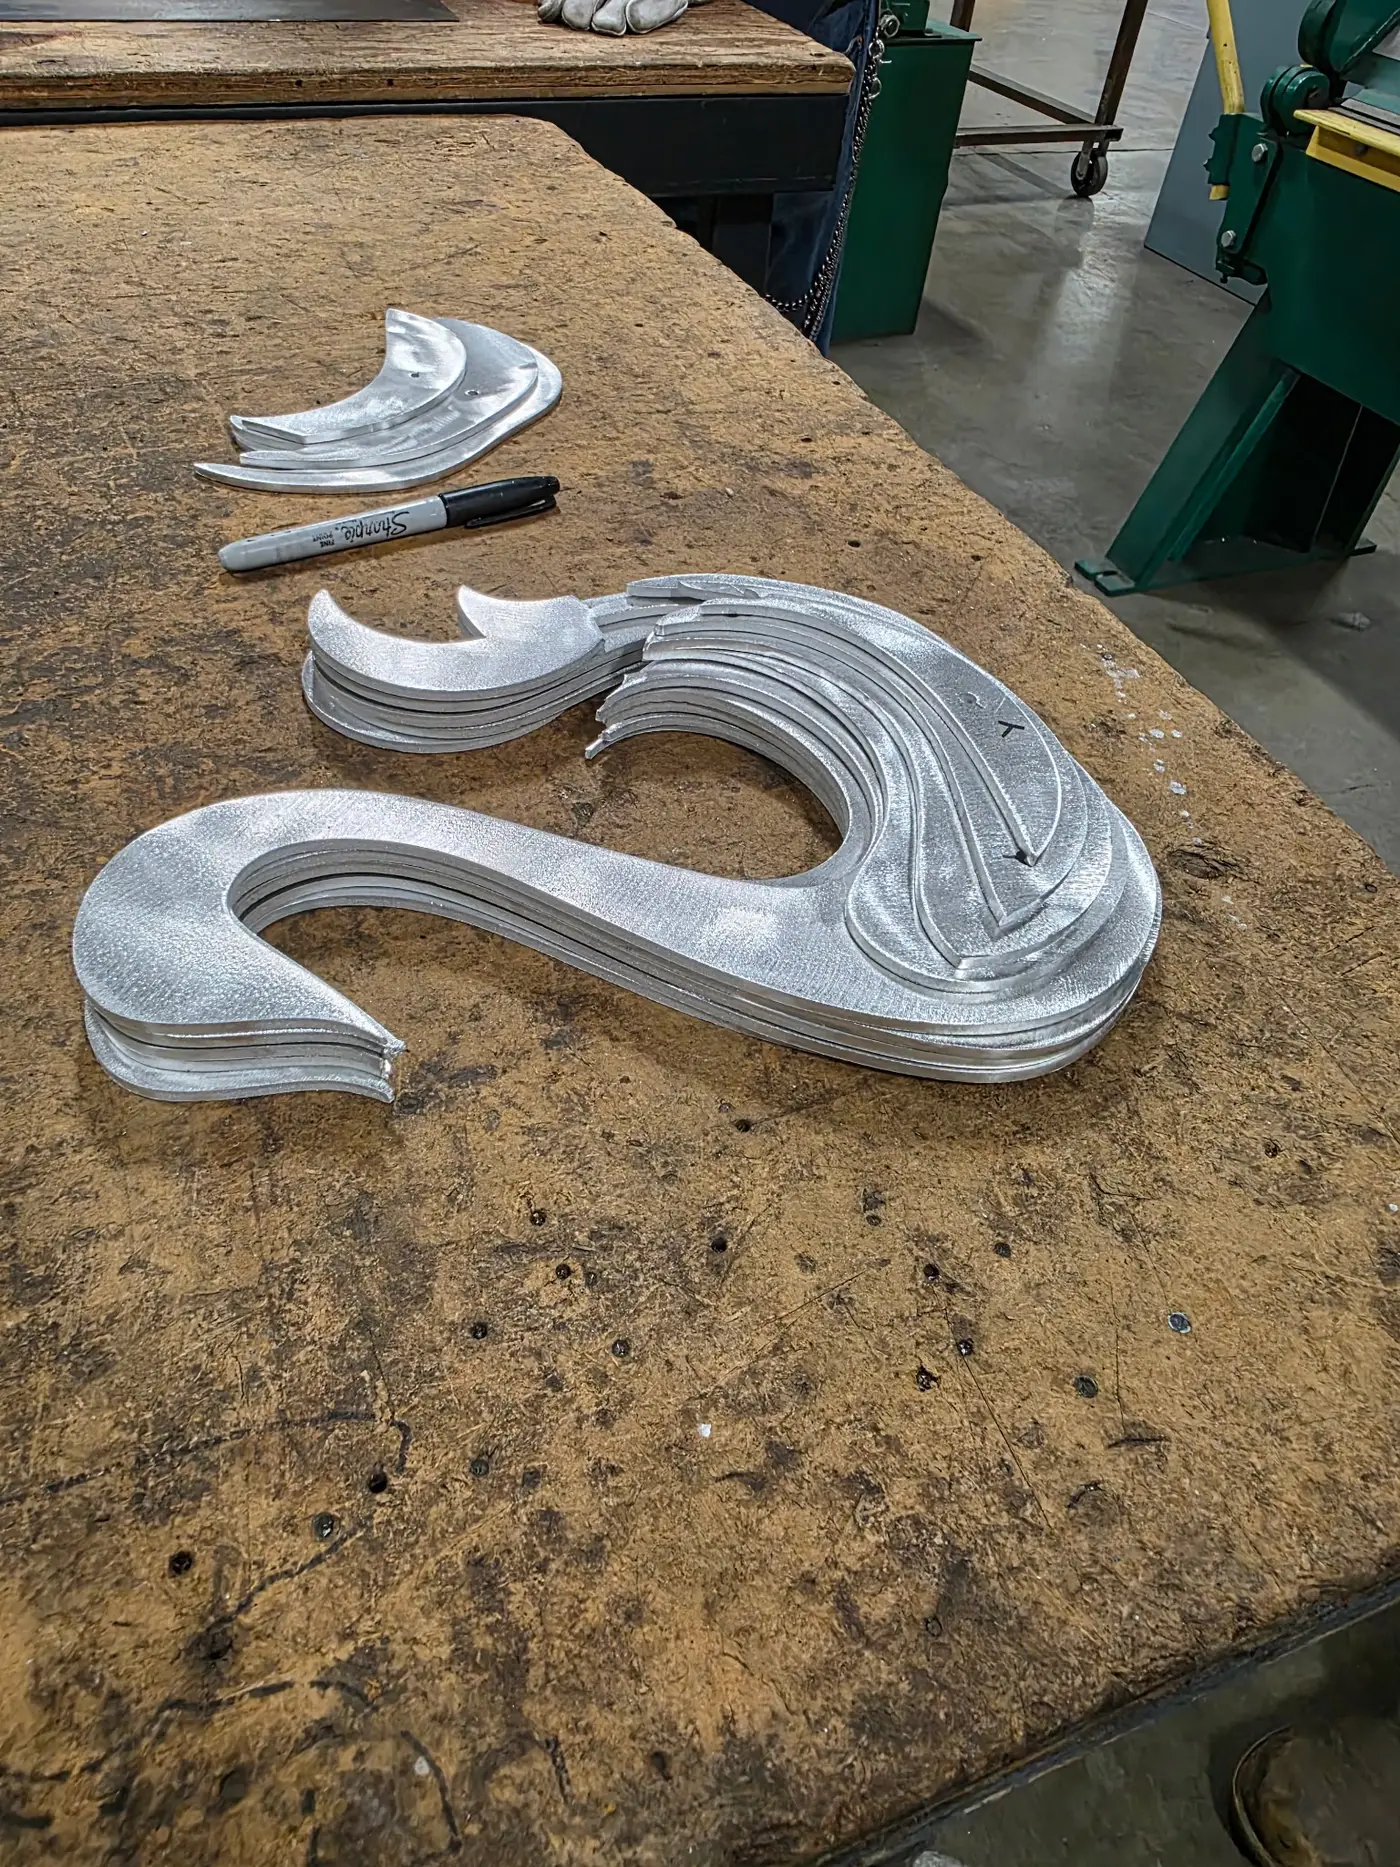
Rather than a solid carved shape, the swan was modeled in Fusion 360 and sliced into fifteen cross-sections, each contour exported as its own DXF. The plates are 3/8-inch aluminum, stacked across the width and TIG welded along their stepped edges, turning flat, waterjet-friendly parts into a true three-dimensional form; assembled, it stands about 11 inches tall. Two alignment holes run through the stack to take an indexing rod. The neck is a single uniform blade across the center plates, the outlines are smooth splines, and the finished swan is welded to a curved base plate that mounts at the bow. Marine-grade alloy and 5356 filler were used throughout.
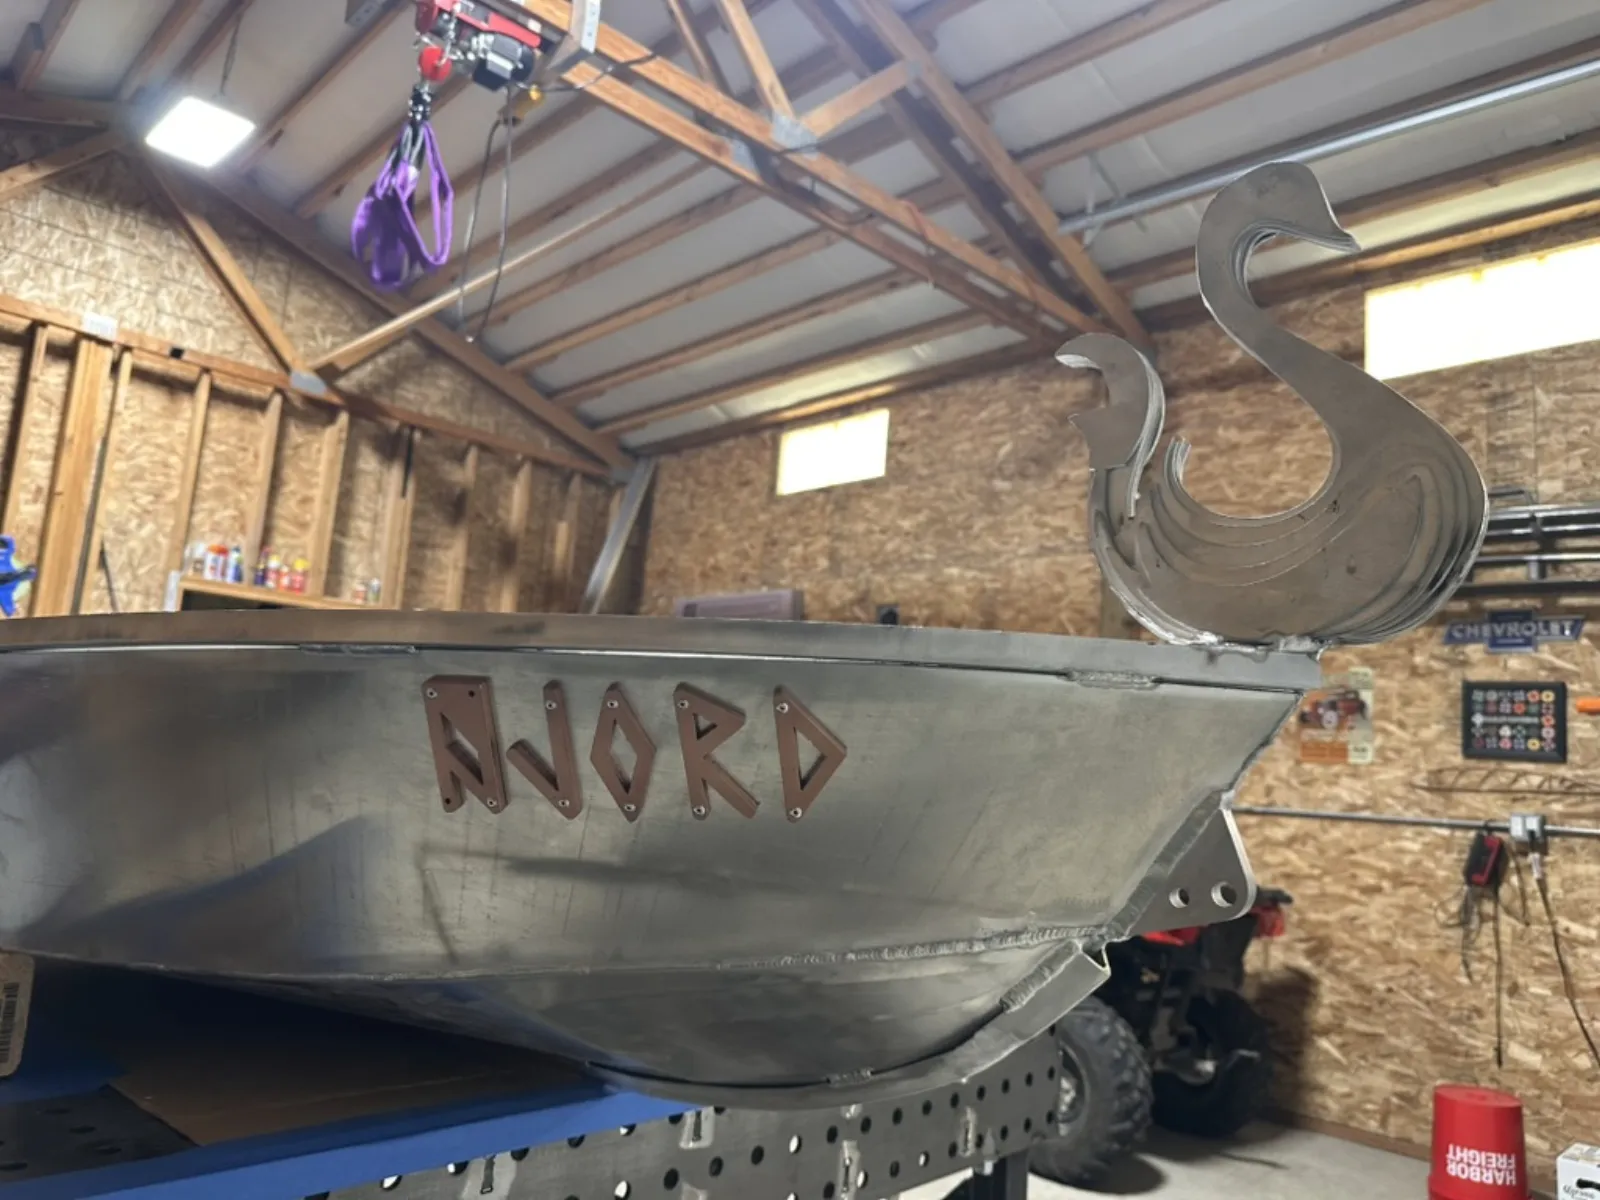
Swan mounted 
Swan Figurehead
Sea Trials
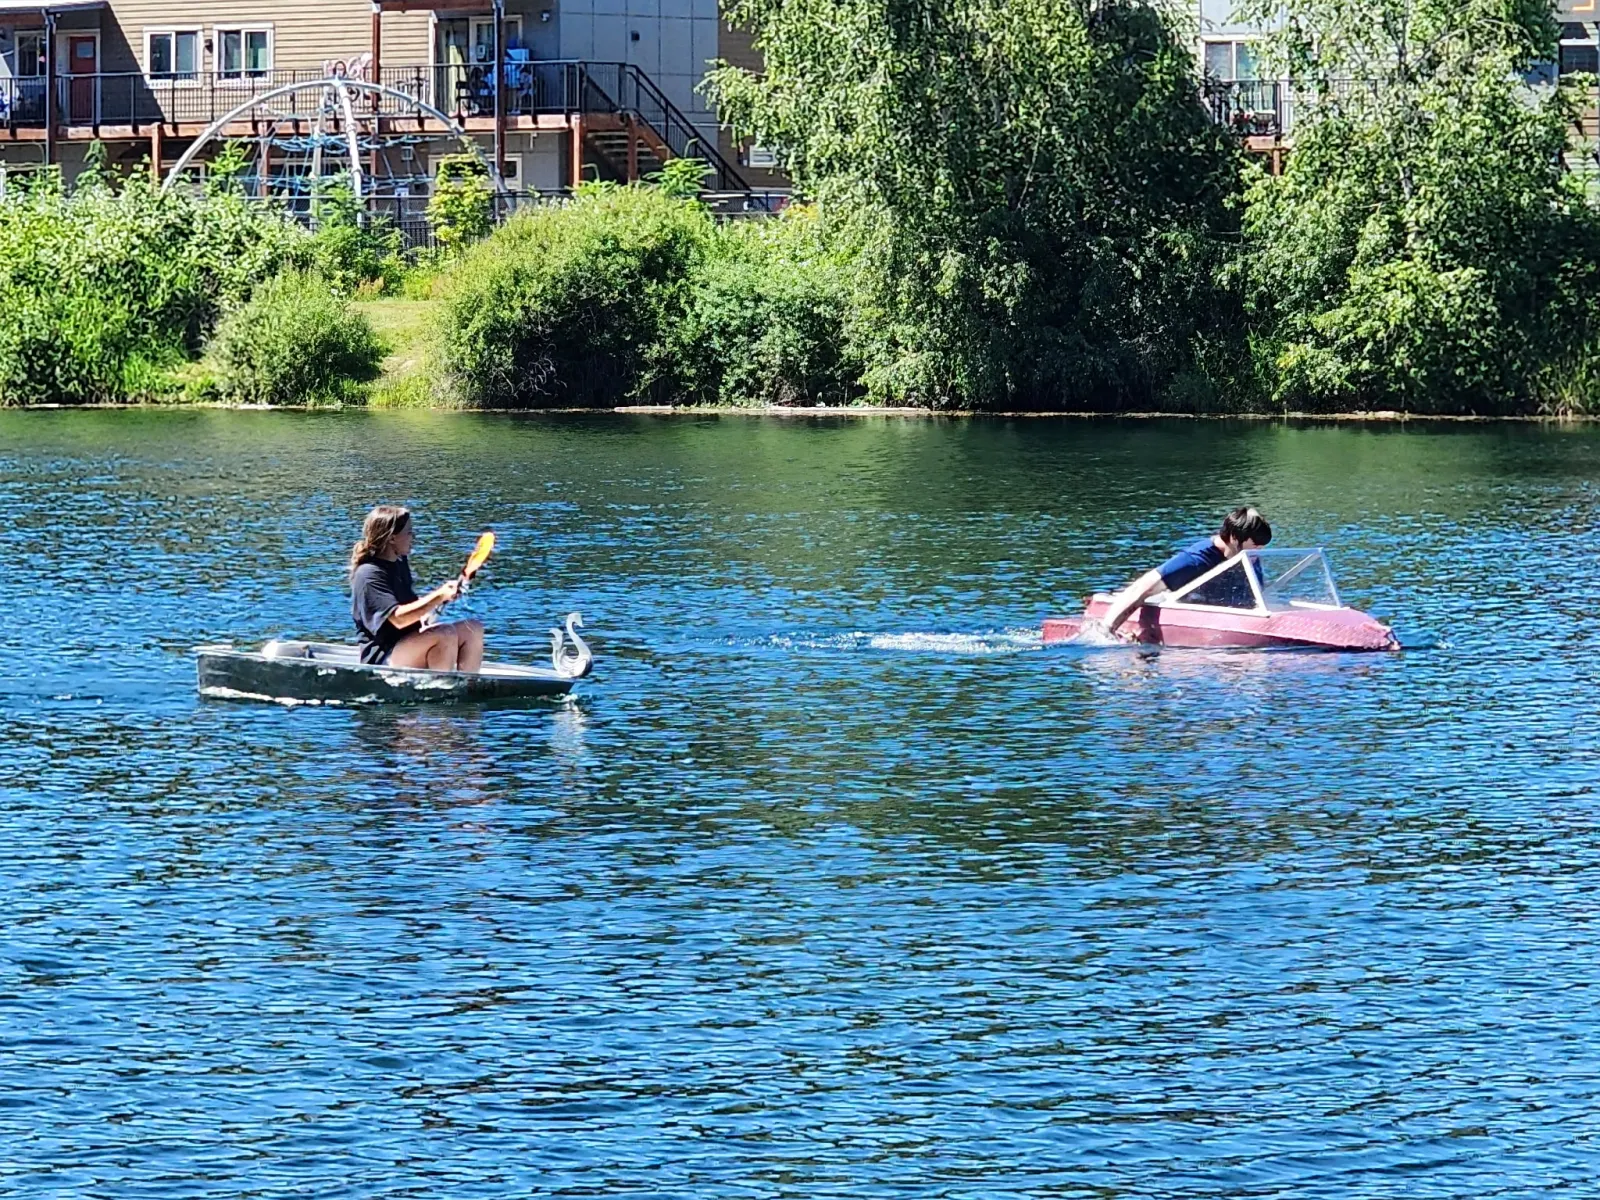
With the hull finished and the details mounted, the boat went into the water to prove the build under real conditions.
-
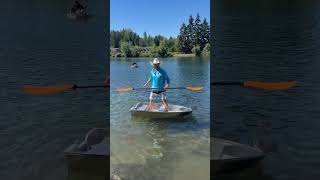
Live testing
The finished skiff was launched and run on the water to check the hull for leaks, confirm it sat true and stable, and verify that every weld held under load.
Stability Testing 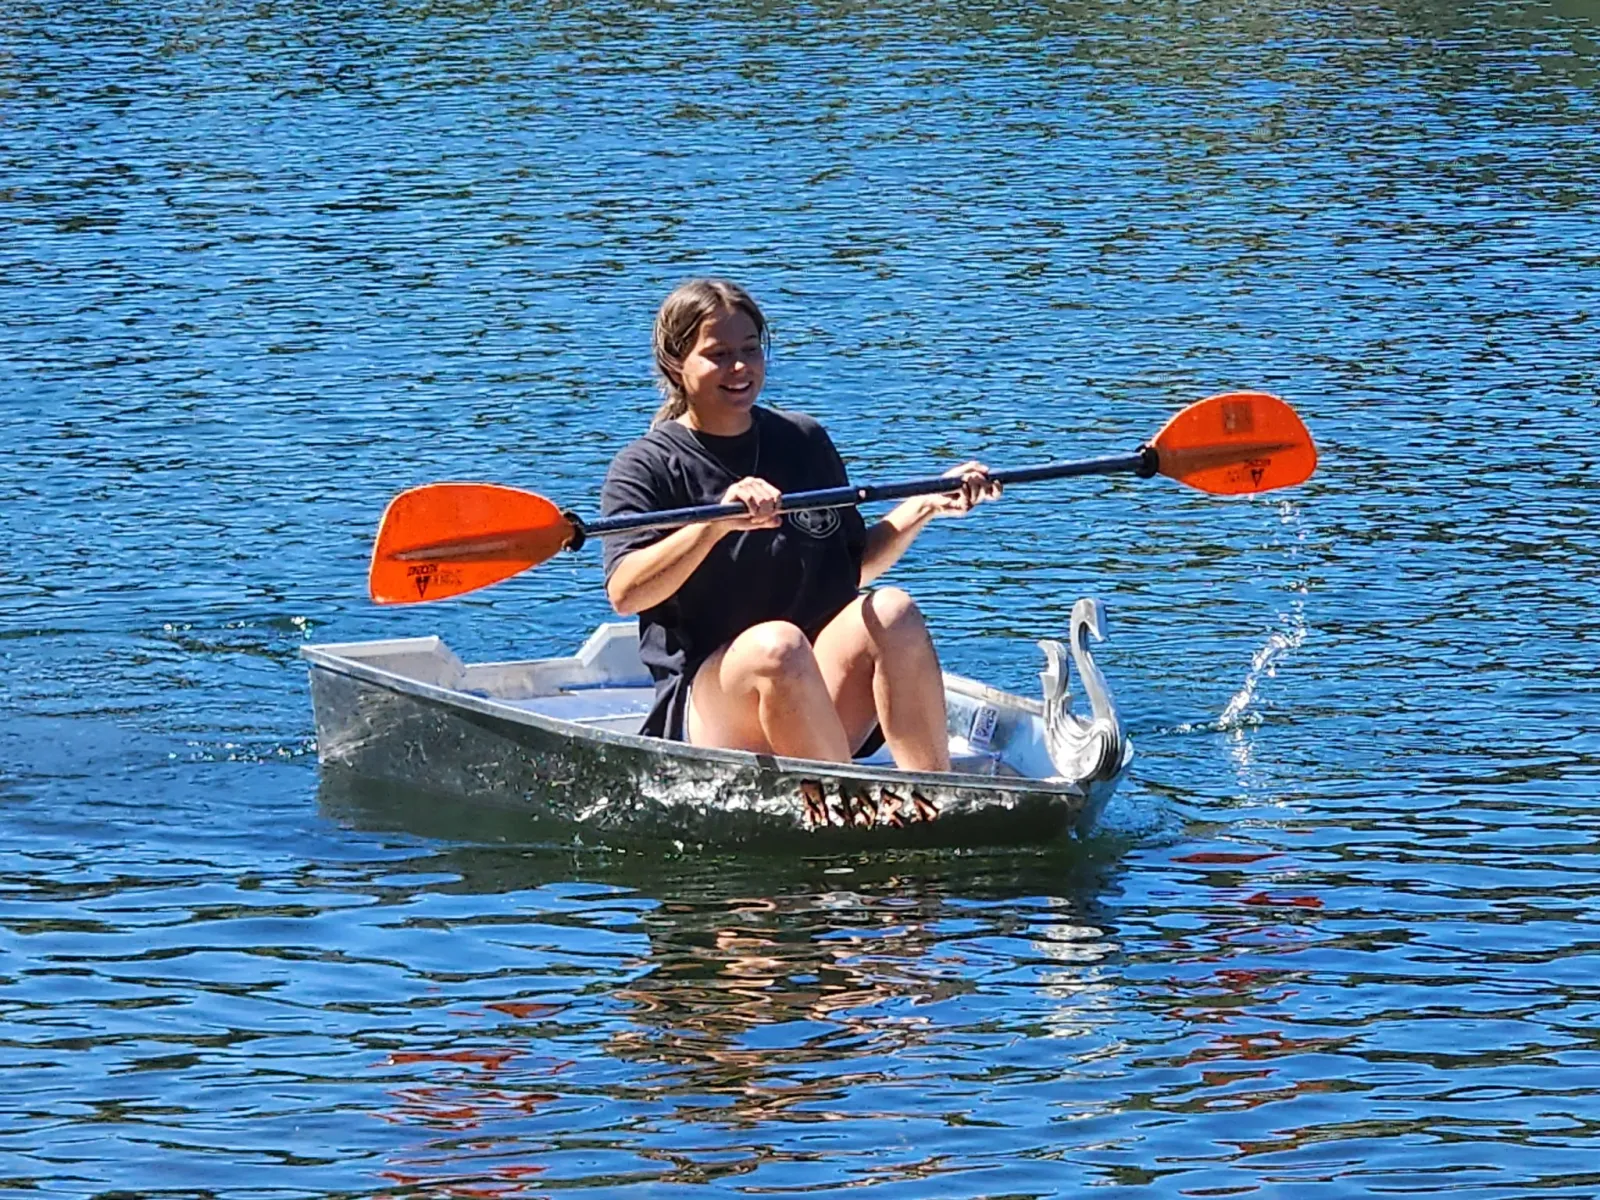
Initial test